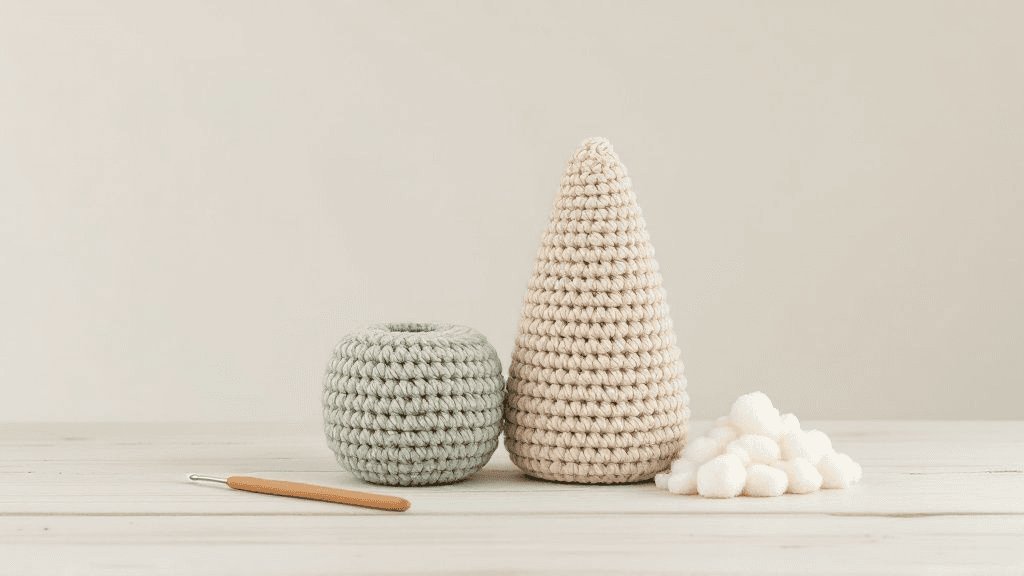
To make amigurumi stand up, give it a flat base and keep its weight low. Crochet the bottom as a flat circle, turn the edge with one round in the back loop only, stuff the base firmly so it stays flat, and keep the head light. For display pieces, a sealed pouch of weight in the base adds stability.
Why amigurumi falls over
A crocheted toy tips for three common reasons, and most toys that wobble have more than one of them at once.
- The base is round, not flat. A piece that starts as a sphere has nothing to sit on. It rocks like a ball.
- The weight is too high. Many designs have a large head on a smaller body. A firmly stuffed head on a softly stuffed body pulls the toy forward or sideways.
- The contact area is too small. Feet that touch the table at one point, or legs set very close together, cannot balance anything above them.
Fixing a toy that already falls is possible, but planning for standing before you start is far easier. If your pattern is designed to sit or lie down, it may not be meant to stand at all, and that is fine.
Start with a flat base
The single biggest change you can make is a flat bottom. Most standing toys and bodies begin like this:
- Crochet a flat circle with regular increase rounds until it is the width the pattern asks for.
- Work the next round in the back loop only, without increases.
- Continue in both loops, working even rounds to build the sides.
The back-loop round leaves a ridge on the outside and turns the work sharply from flat to upright, so the base becomes a clean disc instead of the curved bottom of a ball. We explain how the ridge forms, and how to spot front and back loops, in our guide to back loop only crochet.
If your pattern starts a body as a ball, you can often swap the first rounds for a flat circle of the same stitch count followed by a back-loop round. The body ends up a little shorter, so you may want one extra even round.
Feet and legs that carry weight
Toys that stand on two or four legs need feet that act like small pedestals.
| Foot detail | What helps | What hurts |
|---|---|---|
| Sole shape | Oval or flat round sole with a back-loop turn | Rounded sole that starts as a ball |
| Stuffing | Firm in the foot, a little softer higher up the leg | Soft, squashy feet |
| Leg spacing | Legs set wide, under the outer edge of the body | Legs set close together near the center |
| Leg length | Short, sturdy legs | Long thin legs on a heavy body |
| Attachment | Sewn all the way around, flat to the body | Sewn at one point so the leg can swing |
Oval soles are especially useful for standing toys because they give a longer footprint front to back. Our guide to crocheting an oval shows how to build one around a chain.
Before you sew legs on, pin them in place and stand the toy on a table. Move them a little wider or further forward until the toy balances without help, then sew. Pinning first costs a few minutes and saves unpicking.
Stuffing for balance
Stuffing changes how a toy stands as much as the shape does.
- Stuff the base and feet firmly. Push small pieces of fiberfill into the edges of the base so it stays flat and does not dome outward.
- Stuff the head evenly but not hard. A rock-hard head adds weight high up.
- Avoid overstuffing the bottom. Too much fiberfill pushes a flat base into a curve, and the toy rocks again. Press the base on the table while you stuff and stop when it starts to bulge.
Our guide to choosing stuffing compares fiberfill with other fillings and their care needs.
Adding weight to the base
Weight low in the body is the classic way to make a top-heavy figure stand. It needs care.
- Put the weighting material, such as plastic poly pellets or glass beads made for crafts, inside a small sealed pouch: a tied nylon stocking, or a fabric bag sewn shut.
- Place the pouch at the bottom of the body, on top of a thin layer of fiberfill, before stuffing the rest.
- Stuff around and above it so the pouch cannot shift or be felt as a hard lump.
Loose pellets should never go straight into crocheted fabric; they slip between stitches. Weighted pouches are also a choking risk if a seam opens, so leave them out of toys meant for babies and young children, and follow the toy-safety guidance where you live. For a decorative figure on a shelf, a weighted base is a good solution.
Inserts for a flatter base
Some makers place a disc of stiff material inside the base to keep it flat, such as a circle of plastic canvas cut slightly smaller than the base. This keeps the bottom perfectly level, but it adds a hard part, so treat it like a weighted pouch: fine for display, not for a toy a small child will chew or wash often. Cardboard is a poor choice because it softens if the toy ever gets wet.
Toys designed to sit
Many amigurumi are meant to sit rather than stand, and sitting is often more stable. To help a sitting toy:
- Make the bottom of the body slightly flattened, using a back-loop round or a few even rounds before closing.
- Sew legs on at the front of the body, angled forward, so they act like a tripod with the bottom.
- Sew arms a little forward too; arms hanging behind the body pull the toy backward.
Checking balance as you build
The habit that saves most toys is testing early. Stand or sit the body on a flat surface before any parts are attached, then again with the head pinned on, then with the legs pinned. Each time, note which way it leans and adjust: firmer stuffing on the leaning side, legs moved wider, or a slightly lighter head.
When you choose a design, look at the photos and the shape of the base. A pattern for a standing figure will usually describe a flat or oval bottom in the first rounds. Our amigurumi PDF patterns list each round, so you can see how the base is built before you start.







