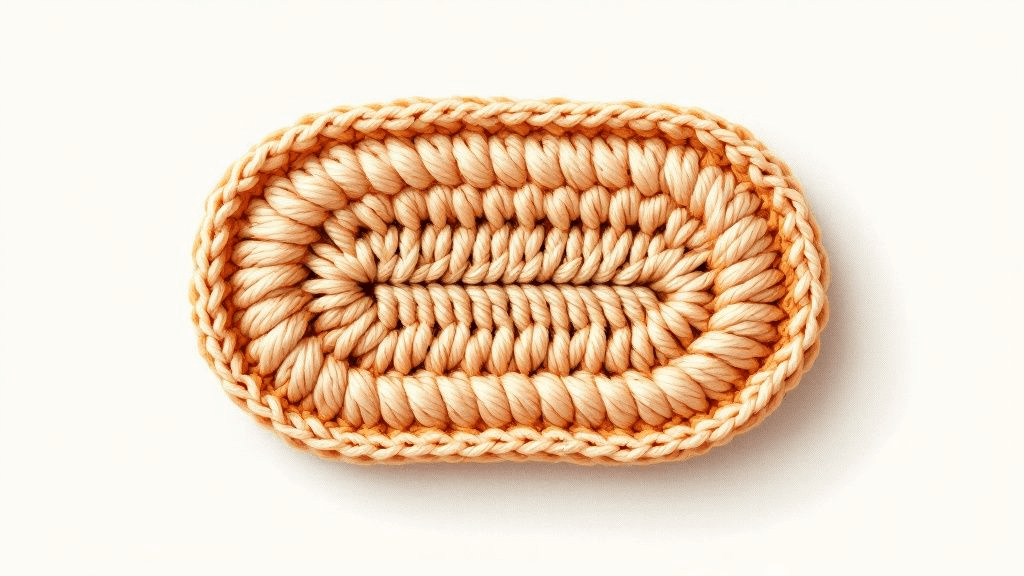
To stuff and assemble amigurumi neatly, add fibrefill in small pieces as you go, stuff firmly without stretching the stitches, and close the last round by threading the tail through the front loops and pulling it tight. Pin each part in place before you sew it on, then hide every yarn end inside the toy.
How much stuffing, and stuffing as you go
Most toys are stuffed with polyester fibrefill. The aim is a firm, smooth toy that keeps its shape without the stitches stretching apart.
- Pull the fibrefill apart into small, fluffy pieces before you push it in. Large clumps make lumps.
- Start stuffing while the opening is still wide enough for your fingers, usually a few rounds before the end of a head or body.
- Push the first pieces right into the far end and the curves, then fill towards the opening. The blunt end of a pencil or a chopstick helps with narrow parts.
- Squeeze and shape the piece as you go. If you can see stuffing through the stitches, it is too full or the fabric is too loose.
- Top up just before you close, because stuffing settles. Arms and legs are often stuffed only lightly at the top so they hang naturally; follow your pattern.
Closing the last round
A drawstring closure gives a small, neat point instead of a puckered seam.
- Finish the last round, cut the yarn leaving a tail of about 20 cm, and pull it through the last loop to fasten off.
- Thread the tail on a tapestry needle.
- Pass the needle through the front loop of each remaining stitch, working from the outside in, all the way around.
- Pull the tail gently. The stitches gather like a drawstring bag and the hole closes.
- Push the needle through the closed point and out somewhere else on the toy, pull the tail slightly, and trim it so the end disappears inside.
Pinning parts before sewing
Pinning lets you see the finished face and pose before anything is permanent.
- Use long sewing pins with large heads, or locking stitch markers, so they are easy to see and do not slip inside the stuffing.
- Pin ears, arms, legs and muzzles where the pattern says, often counted in rounds from the top or the eyes.
- Look at the toy from the front, the sides and above. Check that matching parts sit at the same height.
- Move pins until you are happy, then sew one part at a time, removing each pin only as you reach it.
Long ears, like those on the Mimi Bunny, are a good example: small changes in where you pin them change the whole expression.
Whip stitch vs mattress stitch
Whip stitch
- Good for open-edged parts such as ears, flat arms and tails.
- Bring the needle up through the edge of the part, take it under one stitch on the body right next to it, and back up through the edge of the part. Repeat around.
- Keep the stitches small and close together. They show slightly, so use yarn the colour of the part.
Mattress stitch
- Good for joining stuffed, closed pieces, for example a head to a body or a muzzle to a face, where you want the seam to disappear.
- Take the needle under one stitch on the body, then under the matching stitch on the part, moving forward each time like the rungs of a ladder.
- After a few stitches, pull the yarn gently. The two edges draw together and the yarn sinks between them.
Whichever stitch you use, go around a part twice if it will be pulled on, such as a head or a dangling leg.
Hiding yarn ends
- After each seam, leave a tail of at least 10 cm.
- Push the needle into the toy right next to where the yarn comes out, and bring it out on the far side.
- Pull the tail slightly, trim it close to the fabric, and let go. The end slips back inside.
- For flat parts that cannot hide an end inside, weave the tail through the back of the stitches in two directions before trimming.
Sets with several small bodies, such as the 3 in 1 Amigurumi Plush Babies, are good practice, because each one has to be stuffed, closed and finished the same way. The amigurumi pattern collection has more to choose from.
Stuff in small pieces, close with a drawstring, pin before you sew, and hide your ends inside the toy. Those four habits do more for a neat finish than any special tool.