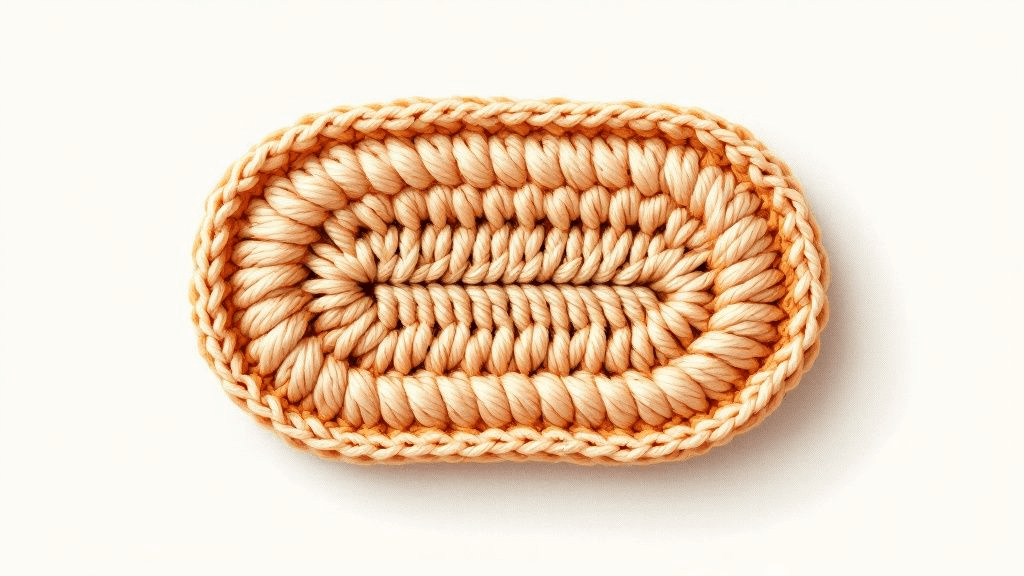
To make amigurumi hair, choose a method that suits the look: attach cut strands of yarn one by one as fringe, crochet loop stitches for thick texture, make a separate hair cap to sew on, or add corkscrew curls. Plan the hairline with pins first, and anchor every strand into the fabric so it stays put.
Before you start: plan the hairline
Hair is easiest to place on a finished, stuffed head, because stuffing changes the shape. Before you attach anything:
- Pin a line where the hair should start at the forehead, around the ears and at the nape.
- Look at the head from the front, both sides and the back.
- Mark any parting with a contrasting thread you can pull out later.
If the toy has a face, finish or at least position the features first. Hair placed too low covers the eyes, and placed too high it makes the forehead look very large. Our guide to embroidering an amigurumi face covers where features usually sit.
The five methods at a glance
| Method | Look | Time needed | Suits |
|---|---|---|---|
| Latch-hook fringe | Loose hanging strands, can be brushed | Long for full heads | Long hair, manes, beards |
| Loop stitch | Dense loops worked into the fabric | Medium | Curly short hair, sheep, lion manes |
| Crocheted hair cap | Smooth, fitted shape | Short | Bobs, short cuts, helmets |
| Corkscrew curls | Springy spiral ringlets | Medium | Pigtails, curly locks |
| Brushed fibers | Fluffy halo | Medium to long | Fur, soft manes |
Method 1: latch-hook fringe
This is the method most people picture: individual strands of yarn knotted into the stitches of the head.
- Cut strands twice the length you want the finished hair to be, plus a little extra for trimming.
- Fold a strand in half.
- Insert a small crochet hook or a latch hook under one stitch of the head, from one side to the other.
- Catch the fold and pull it through to make a loop.
- Pass the two ends through the loop and pull snug.
Work along the hairline first, then fill in the rows behind it. For dense hair, attach a strand in every stitch; for a lighter look, skip a stitch or a round between strands. Trim to shape at the end, not as you go.
Method 2: loop stitch
Loop stitch makes a carpet of loops directly in the crocheted fabric. You can crochet a separate cap in loop stitch and sew it on, or work loop stitches into the surface of the head.
To make a loop stitch, insert the hook into the stitch, wrap the working yarn around your finger or a pencil to set the loop length, catch both strands behind the finger, pull them through, then finish the stitch as a single crochet. The loops form on the side of the fabric facing away from you, so when you crochet a cap in the round, turn it so that loopy side becomes the outside.
Loops can be left as they are for tight curls or cut and brushed for a shaggy mane.
Method 3: a crocheted hair cap
For short or styled hair, crochet a cap like the top half of a sphere in the hair color. Try it on the head as you go, and stop adding rounds once it covers the area you want. Shape bangs or side pieces by working a few stitches back and forth in rows at the front.
Pin the cap in place and sew around the edge with the yarn tail, using small stitches that catch the head fabric. A cap gives a clean edge and is a good option for toys that will be handled a lot, because there are no loose strands to pull.
You can combine methods: a cap for the base, with fringe or curls added at the edges.
Method 4: corkscrew curls
Corkscrews look like little springs. Chain a length about one and a half times the curl length you want. Then work two or three single crochet into each chain, going back towards the start. The extra stitches force the strip to twist. Leave a tail at both ends for sewing.
Shorter chains make tight ringlets, longer chains make loose spirals. Several curls together make pigtails or a full head of curly hair.
Method 5: brushed fibers
Some yarns, such as wool and certain acrylics, separate into fine fibers when brushed. Attach fringe or loops, then brush gently with a pet slicker brush or a stiff brush until the strands fluff up. Hold the base of the strands while you brush so you do not pull them out.
Brushing suits yarns with plied strands. Cotton does not brush out well, and some acrylics turn frizzy rather than fluffy, so test on a scrap first.
Manes and tails
Manes follow the same principles. Most run along a line on the neck and back, which you can mark with pins along the spine. Fringe gives a flowing mane; loops give a stiff, upright one. If the pattern has a ridge of front or back loops along the neck, attach the mane into those unused loops for a straight, even line. Our guide to back loop and front loop crochet explains how those ridges are made.
Hair for different ages and uses
Think about how the toy will be used before you choose a method. A shelf figure can carry long brushed hair, delicate curls and glued styling. A toy that will be carried around, cuddled and pulled benefits from a sewn cap or short loops, which have nothing long to grab. Long fringe on a well-loved toy also tangles, so plan a style that still looks good after some wear.
Keeping hair in place
- Pull every knot snug, but not so hard that the head fabric puckers.
- On display pieces only, a small dab of fabric glue at the base of strands can hold a style; glue stiffens yarn, so keep it off toys that will be cuddled.
- Trim stray fibers with sharp scissors after brushing.
- Keep long strands shorter for toys meant for young children; long loose strands can come away when pulled, so a crocheted cap is often a better choice there.
Choosing yarn for hair
Use the same yarn weight as the head, or one size lighter, so the hair does not overwhelm the face. Strands from fuzzy or brushed yarn hide the knots at the base better than smooth cotton. If you use a different fiber from the body, check that it can be cleaned the same way.
Find a toy to try these techniques on in our amigurumi crochet patterns in PDF.