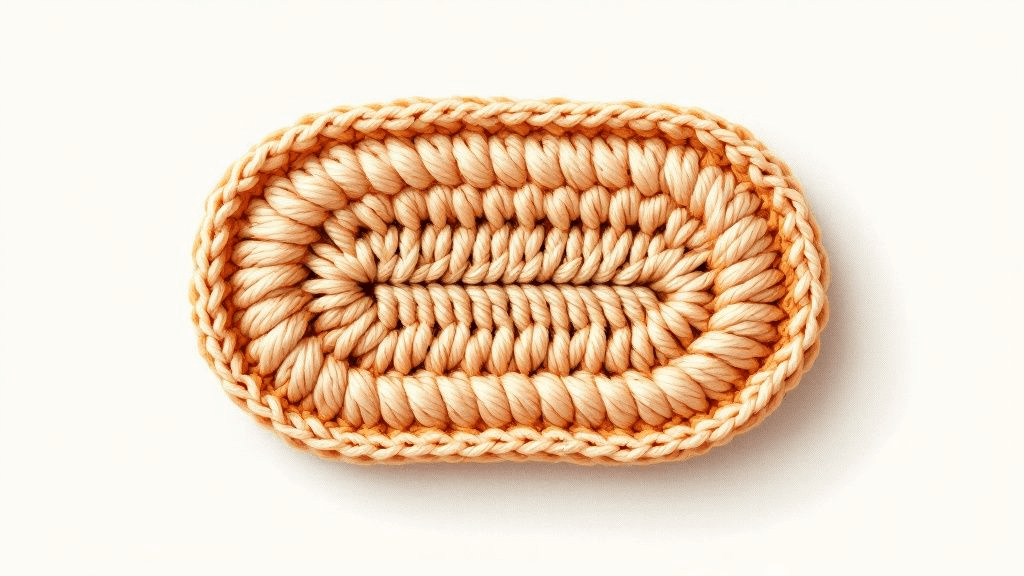
To increase and decrease in amigurumi, you change the number of stitches in a round. An increase means working two single crochet stitches into the same stitch, which adds one. A decrease means joining two stitches into one, usually with sc2tog or the invisible decrease, which removes one. Spacing them evenly is what gives you smooth, round shapes.
Why shaping is just stitch counting
Almost every amigurumi part is built from a few basic forms: a flat disc, a sphere, a cylinder, a cone or a teardrop. What decides which form you get is how the stitch count moves from one round to the next.
- When the count goes up, the piece gets wider and lies flatter.
- When the count stays the same, the piece grows straight up into a tube.
- When the count goes down, the piece pulls inward and starts to close.
That is why most patterns print the stitch total at the end of every round, usually in parentheses, like "Rnd 3: (sc, inc) x 6 (18)". The number in brackets is your checkpoint. If your count matches it, your shaping is on track, whatever your stitches look like.
| Move | Common abbreviation | What you do | Effect on count |
|---|---|---|---|
| Increase | inc, 2 sc in next st | Work 2 single crochet into the same stitch | +1 |
| Standard decrease | dec, sc2tog | Pull up a loop in each of 2 stitches, then yarn over and pull through all 3 loops | -1 |
| Invisible decrease | invdec | Insert the hook under the front loops only of the next 2 stitches, then finish like a single crochet | -1 |
Abbreviations are not fully standardized between designers, so always check the key at the start of your pattern before you begin.
How to increase in single crochet
An increase is the simplest move in amigurumi:
- Work one single crochet into the next stitch as usual.
- Insert your hook into that same stitch again.
- Work a second single crochet.
You now have two stitch tops sitting on one stitch from the round below. When you count the next round, both of them count as separate stitches.
A few habits make increases neater. Keep both stitches the same height; a loose second stitch leaves a small gap. Do not skip the stitch after an increase by accident, which happens often because the two new tops sit close together. If you can, look at your work from the outside of the piece so you can see each V clearly.
How to decrease: sc2tog or invisible decrease
There are two common ways to remove a stitch.
The standard decrease (sc2tog)
Insert the hook into the next stitch, yarn over and pull up a loop (two loops on the hook). Insert into the following stitch, yarn over and pull up another loop (three loops on the hook). Yarn over and draw through all three. Two stitches have become one.
This works, but in tight amigurumi fabric it can leave a small bump or a little gap, because the hook passes under both loops of two stitches.
The invisible decrease
Most amigurumi designers prefer the invisible decrease. Insert the hook under the front loop only of the next stitch, then straight under the front loop only of the following stitch, so there are three loops on the hook. Yarn over and pull through the two front loops, then yarn over and pull through the last two loops. The back loops stay untouched and fill the space, so the decrease almost disappears. We cover it in detail, with fixes for the usual problems, in our guide to the invisible decrease.
If your pattern simply says "dec", either method gives the correct count. Pick one and use it all the way through a piece so the texture stays even.
The 6-12-18 rule: where increase rounds come from
Most round pieces start with 6 single crochet in a magic ring, and then add 6 stitches every increase round. That gives the familiar sequence:
| Round | Instruction | Stitch count |
|---|---|---|
| 1 | 6 sc in magic ring | 6 |
| 2 | inc in each st | 12 |
| 3 | (sc, inc) x 6 | 18 |
| 4 | (2 sc, inc) x 6 | 24 |
| 5 | (3 sc, inc) x 6 | 30 |
| 6 | (4 sc, inc) x 6 | 36 |
Notice the pattern: in each new increase round, the number of plain stitches before the increase goes up by one. Adding 6 stitches per round keeps a flat circle flat, because the circumference of the circle grows by about the same amount each round. Add fewer and the edge starts to cup upward; add more and it ruffles.
Decreasing a sphere is simply the same sequence in reverse: (4 sc, dec) x 6 brings 36 down to 30, then (3 sc, dec) x 6 to 24, and so on. Our step-by-step guide to crocheting a ball walks through a full head shape this way.
Some patterns start with 5, 7 or 8 stitches instead of 6, for an oval or slightly pointed shape. The logic is identical: each increase round adds that same starting number.
Spacing increases so the circle stays round
If every increase lands directly on top of the one below, the circle grows six corners and turns into a hexagon. On a head this shows up as flat sides and visible ridges.
The fix is to stagger the increases. Many designers already do this in the written pattern, for example:
- Round 4 written as "sc, inc, (2 sc, inc) x 5, sc" instead of "(2 sc, inc) x 6".
- Every other round starting with half of the plain stitches, then the increase, then the rest.
The stitch count is the same; only the starting point moves. If your pattern does not stagger, you can do it yourself on alternate rounds as long as you keep the same number of increases and the round total matches. On very small pieces of four or five rounds, staggering hardly matters, so do not worry about it there.
Spacing decreases evenly
Decreases follow the same idea. "(2 sc, dec) x 6" spreads six decreases around a 24-stitch round. If you bunch them together, the piece pulls sideways and looks dented on one side.
When a pattern tells you to decrease a number of stitches without saying where, divide the round total by the number of decreases. For 30 stitches and 5 decreases, that is 6 stitches per group: work 4 sc, then 1 decrease, which uses 6 stitches, and repeat 5 times.
Counting so you notice mistakes early
Most shaping problems come from a missed or extra stitch two or three rounds earlier. A stitch marker in the first stitch of each round, moved up as you go, makes counting much easier. Count each round before you start the next one; counting one round costs far less time than undoing four rounds later. If the count is off, our guide on counting stitches in rounds explains how to find where it went wrong.
Common problems and fixes
| What you see | Likely cause | Fix |
|---|---|---|
| Flat circle starts to cup | Too few increases, or an increase skipped | Recount the last 2 rounds against the pattern |
| Circle ruffles or waves | Extra increases or loose tension | Check the count; try a smaller hook |
| Hexagon shape | Increases stacked on top of each other | Stagger the start of each increase round |
| Holes beside decreases | Standard decrease in loose fabric | Switch to the invisible decrease, tighten tension |
| One side dented | Decreases bunched together | Spread them evenly around the round |
Practicing before your first project
If you are new to shaping, crochet a small ball in a smooth light-colored yarn before starting a pattern: 6 rounds of increases, 3 even rounds, then 5 rounds of decreases, stuffing before the opening gets small. You will practice every move in this guide in under an hour, and you will see exactly how each round changes the shape.
When you are ready for a full project, browse our amigurumi PDF patterns and keep a pencil handy to tick off each round's count as you work through the shaping.