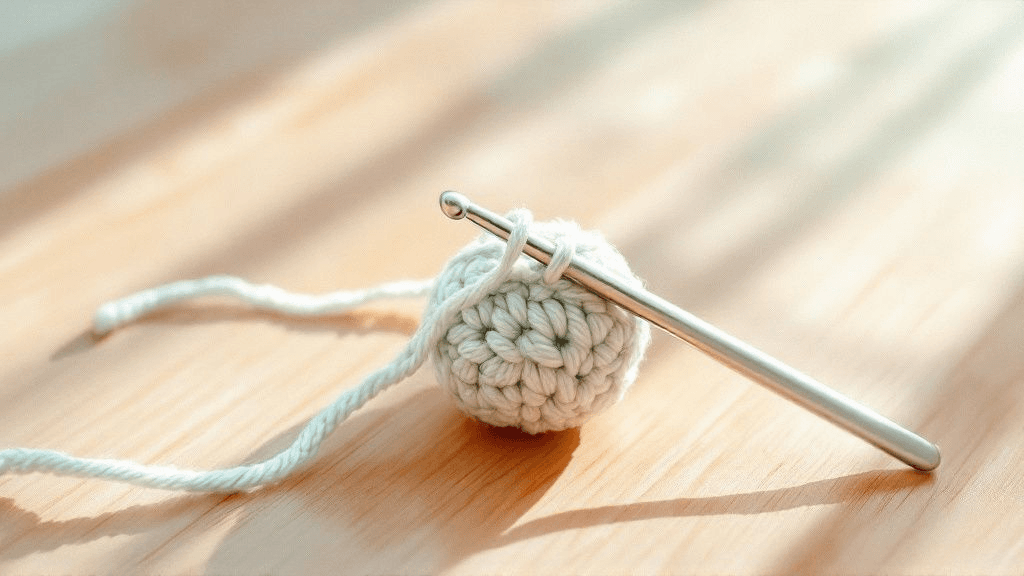
The invisible decrease in crochet joins two single crochet stitches into one by working through their front loops only. You insert the hook under the front loop of the next stitch, then under the front loop of the stitch after it, yarn over and pull through two loops, then yarn over and pull through the last two. The back loops stay put and hide the join.
What makes it "invisible"
A regular single crochet decrease (sc2tog) pulls up a full loop from each of two stitches. In the dense fabric amigurumi needs, those two loops squeeze together and often leave a small ridge or a pinhole beside the stitch. On a head or a body, a ring of six of those bumps stands out.
The invisible decrease takes a different path. Because the hook only picks up the front loops, the back loops of both stitches are left in place. They sit behind the new stitch and fill in the space, so from the outside the decrease looks almost the same as an ordinary single crochet. That is the whole trick: less yarn pulled through, and nothing pulled away from the surface.
| Method | Where the hook goes | Loops on hook before finishing | Typical look |
|---|---|---|---|
| Standard decrease (sc2tog) | Under both loops of 2 stitches, a loop pulled up from each | 3 | Small bump or gap is common |
| Invisible decrease (invdec) | Under the front loop only of 2 stitches, no yarn over between | 3 | Blends in with the stitches around it |
Both remove exactly one stitch, so your round count is the same either way.
Step by step
- Find the next two stitches. Look at the top of the round. Each stitch shows a V; the leg of the V closest to you is the front loop.
- Go under the first front loop. Insert your hook from front to back under the front loop only of the next stitch. You now have two loops on the hook.
- Go straight under the second front loop. Without a yarn over, insert the hook under the front loop only of the following stitch. Three loops on the hook.
- Pull through two. Yarn over and draw the yarn through the two front loops you just picked up. Two loops remain.
- Finish like a single crochet. Yarn over and pull through both loops. One stitch made from two.
The motion in steps 2 and 3 feels a bit like scooping. Some crocheters find it smoother to tilt the hook tip slightly downward so both front loops slide onto the shaft in one movement.
What it looks like in a pattern
Designers write it in a few ways: "invdec", "inv dec", "dec (invisible)" or just "dec" with a note in the key saying the invisible method is used. Many patterns say "dec" and leave the method to you. If the key does not specify, both methods give the right count, so choose the one that looks tidier in your fabric.
When to use it, and when not to
The invisible decrease was made for continuous rounds of single crochet worked from the outside, which is how most amigurumi is made. It works well for:
- Closing heads, bodies and spheres.
- Shaping tapered arms, legs and tails.
- Narrowing a snout or a muzzle.
It is less useful in a few places:
- Taller stitches. The front-loop idea can be adapted to half double or double crochet, but follow the pattern's own method there; the result varies.
- Rows worked back and forth. On flat pieces such as doll clothes, front loops alternate sides with each row. A standard sc2tog is usually more predictable.
- When the pattern relies on a visible line. Rare, but some designs use decreases as a decorative seam.
Making it neater still
A few habits matter more than the method itself.
- Keep tension even on the final pull. A loose last yarn over leaves the stitch taller than its neighbors.
- Work from the right side. If your piece turned inside out while you worked, the front loops you are reading may actually be the back of the fabric. Most amigurumi is worked with the outside facing you.
- Spread decreases around the round. Even a perfect invisible decrease shows if six of them land in one line. Stagger where each decrease round begins, the same way you stagger increases (see our guide on increasing and decreasing in amigurumi).
- Stuff as you close. Firm stuffing pushes the stitches outward evenly, which hides small irregularities. Add stuffing before the opening gets too small to reach in.
Troubleshooting
| Problem | Likely cause | What to try |
|---|---|---|
| Small hole next to the decrease | Back loop of the first stitch pulled open, or loose tension | Snug the last pull; consider a hook 0.25-0.5 mm smaller |
| Visible bump | Picked up a back loop by mistake | Check you are under the front leg of each V only |
| Count is one short or one long | Skipped a stitch after the decrease, or worked into the same stitch twice | Place a marker at the round start and count the round before moving on |
| Fabric puckers around decreases | Decreases stacked in a column | Shift the start of the repeat on alternate rounds |
| Decrease looks loose from inside | Normal | The inside is not visible once stuffed; judge from the outside |
If you keep seeing gaps in decrease rounds even with the right technique, the cause is usually the overall fabric, not the decrease. Our guide to fixing gaps and holes in amigurumi goes through hook size, tension and yarn choice.
A practice swatch
Make a small cup to practice: start with 6 single crochet in a magic ring, increase to 24 stitches over three rounds, work two even rounds, then decrease with "(2 sc, invdec) x 6" to 18 and "(sc, invdec) x 6" to 12. Turn it over and compare: on the side you worked from, the decreases should be hard to pick out.
Try the same cup once with standard sc2tog in place of the invisible version. Seeing both side by side tells you more about your own tension than any photo can.
Closing the final opening
Patterns often finish a piece with a round of decreases down to 6 stitches, then ask you to close the hole. Cut the yarn with a tail of about 6 inches, thread it on a tapestry needle and weave it through the front loop of each remaining stitch, then pull gently to draw the opening shut. This keeps the same front-loop logic as the invisible decrease, so the top or bottom of the piece stays smooth.
When you are ready to use it on a full project, pick one of our amigurumi crochet patterns in PDF and practice the invisible decrease on the closing rounds of the head, where a smooth finish shows the most.







