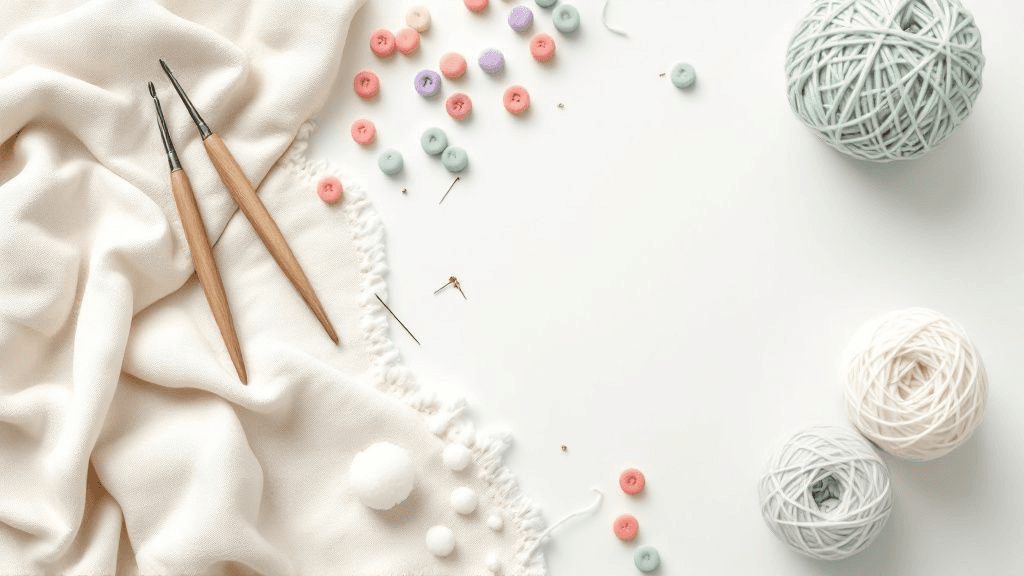
The essential amigurumi tools for beginners are a crochet hook in the size your pattern lists, smooth yarn in a matching weight, stitch markers, a blunt tapestry needle, small sharp scissors, polyester fiberfill and a few pins. That short list covers almost every first project. Extras such as row counters or ergonomic hooks can wait until you know what you need.
The core checklist
| Tool | What it does | What to look for |
|---|---|---|
| Crochet hook | Makes every stitch | The size your pattern lists; for worsted yarn, often 3.5 to 4 mm |
| Yarn | Builds the toy | Smooth, light-colored, medium or light weight for a first project |
| Stitch markers | Mark the first stitch of each round | Locking or split-ring markers that open and close |
| Tapestry needle | Sews parts together, weaves in ends | Blunt tip, large eye that fits your yarn |
| Scissors | Cuts yarn cleanly | Small and sharp, kept for yarn only |
| Stuffing | Fills and shapes the toy | Polyester fiberfill is the usual starting choice |
| Pins | Hold parts in place before sewing | Long pins with large heads, so they do not vanish into the stuffing |
Crochet hook
The hook matters more than any other tool. Amigurumi uses a hook smaller than the yarn label suggests, so the stitches are tight enough to hide the stuffing. Your pattern will name a size; start there. If you see gaps between stitches, go down a size.
Hooks come in aluminum, steel, wood, bamboo and plastic, with plain or cushioned handles. Aluminum hooks are smooth and inexpensive, which makes them a good first choice. If your hand aches after a session, a hook with a thicker, soft handle may help, but you do not need one to start.
Yarn
Pick a smooth yarn in a light color for your first project. Dark, fuzzy or plush yarns hide the stitches and make counting harder. Many beginners use a cotton or cotton blend in light or medium weight because the stitches are clear and well defined. Acrylic is softer and more stretchy. Your pattern lists the weight it was designed for, and staying close to that keeps the finished size similar to the photos.
Buy a little more than you think you need, from the same dye lot if you can, so you do not run out in the middle of a piece.
Stitch markers
Most amigurumi is worked in a continuous spiral with no visible start to each round. A marker in the first stitch tells you where the round begins. Locking markers, which look like small safety pins, or split rings are the easiest to move each round. In a pinch, a short piece of contrasting yarn works too. Our guide to using stitch markers explains how to move the marker without losing your place.
Tapestry needle
A tapestry needle has a blunt tip and a large eye. The blunt tip slides between stitches without splitting the yarn, which is what you want when sewing parts together. Get a couple of sizes, or a bent-tip version, which some makers find easier for sewing into a curved surface.
Scissors
Any small sharp scissors will do. Keep them for yarn only, because cutting paper dulls them and dull scissors fray the yarn ends, which makes threading the needle harder.
Stuffing
Polyester fiberfill is light, springy and widely available. Pull it apart into small fluffy tufts before stuffing, and add a little at a time. Other fillings, such as wool or weighted pellets in an inner bag, have their own uses. Our guide to choosing amigurumi stuffing compares them.
Pins
Long pins with large colored heads hold ears, arms and legs in place while you check the position from every angle. Do not skip this step: sewing a part on crooked and taking it off again takes much longer than pinning first.
Eyes and face
Depending on the pattern, you may need safety eyes with locking washers, or embroidery thread for stitched features. Safety eyes are not suitable for toys meant for children under three; embroidered features are the usual alternative for young children. Check what your pattern calls for before you start, because safety eyes are fixed before a piece is closed.
Useful extras for later
| Extra | Why some makers like it |
|---|---|
| Row counter | Keeps track of rounds on long pieces |
| Ergonomic hook | Reduces hand strain in long sessions |
| Stuffing tool or chopstick | Pushes stuffing into narrow parts |
| Project bag | Keeps yarn clean and pieces together |
| Small pliers | Helps pull a needle through dense fabric |
| Pet slicker brush | Fluffs yarn for hair and fur effects |
| Fabric glue | Holds felt details on display pieces |
None of these are required for a first toy. Add them as you discover a need.
Setting up a work space
Good light makes a real difference, especially with dark yarn. A small bowl or tray keeps the ball of yarn from rolling away, and a dish for markers and pins stops them from disappearing. If you crochet away from home, a pouch with the hook, a few markers, the needle and small scissors lets you work on small parts anywhere.
Keeping tools organized between projects
Small tools have a way of disappearing. A zip pouch or small tin for markers, the needle, a few pins and scissors keeps them together, and a label on each hook size, or a hook case with marked slots, saves searching. Store stuffing in a closed bag so it stays clean and does not pick up dust or pet hair, which would show through light yarn. Keep leftover yarn with its label, so you know the weight and fiber when you reach for it again.
Do you need a kit?
Some makers start with a kit that bundles yarn, hooks and accessories. That can be handy, but you can also gather the items above individually and buy only what your first pattern needs. Either way, check that the hook size and yarn weight match the pattern you plan to make.
Before you start your first pattern
- Read the materials list in the pattern.
- Match the hook size and yarn weight.
- Lay out every tool so it is within reach.
- Make a small practice circle to check your tension.
- Begin with the largest piece, usually the head or body.
When your tools are ready, choose a first project from our amigurumi crochet PDF patterns and compare the materials it names with your kit before you start.







