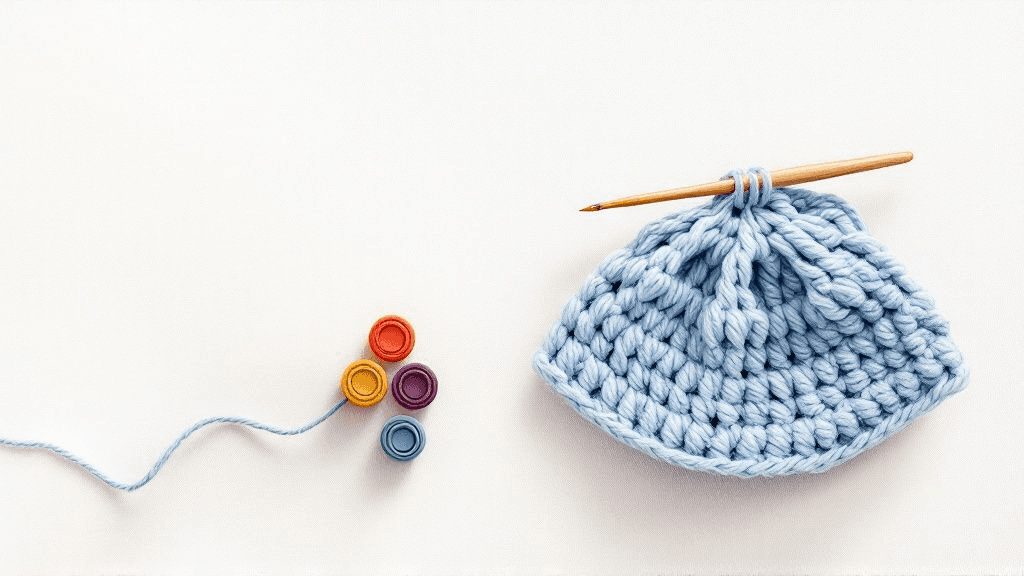
To use stitch markers in crochet, clip a marker into the stitch you need to find again, usually the first stitch of a round. In amigurumi worked in a spiral, you place it in the first stitch of round 1, work around until you reach it, remove it, make that stitch, and put it back into the new stitch. That way you always know where each round begins.
Why markers matter so much in amigurumi
In flat rows, the edge tells you where a row ends. In joined rounds, the slip stitch tells you. But most amigurumi is worked in a continuous spiral, with nothing to show where one round finishes and the next begins. Without a marker, you soon lose count, and a missed increase or extra decrease only shows up several rounds later as a lopsided shape.
A marker turns the spiral into countable rounds. Each time you reach it, you know you have finished a round, and you can check the total against the number in the pattern. The topic of spirals and joined rounds is covered more fully in our guide to spiral vs joined rounds.
Marking the start of a round, step by step
- Work round 1, for example 6 single crochet in a magic ring.
- Clip the marker into the first stitch of round 1. Some crocheters clip it into the loop on the hook just after making that first stitch; others place it into the stitch top. Either works if you are consistent.
- Continue around. Round 2 begins when you come back to the marked stitch.
- Remove the marker, work the first stitch of round 2 into the marked stitch, then clip the marker into the stitch you just made.
- Repeat every round.
The "last stitch" alternative
Some patterns and some crocheters prefer to mark the last stitch of a round instead. The idea is the same; only the moment you move it changes. Pick one habit and stick to it so you never wonder which stitch the marker means.
Types of stitch markers
| Type | How it works | Good for | Watch out for |
|---|---|---|---|
| Locking (clip) markers | Open and close like a small safety pin | Round starts in amigurumi, marking a stitch to sew into later | Most common choice; tiny ones can be lost in stuffing |
| Split-ring markers | An open ring that slides on | Lightweight marking | Can slip off a loose loop |
| Closed ring markers | A closed ring | Knitting needles, rarely crochet | Cannot be removed from a stitch without cutting |
| Scrap yarn | A short contrasting strand laid between rounds | Tracking many rounds at once, a "lifeline" | Choose a smooth yarn that does not shed |
| Safety pin or bobby pin | Household items | Emergencies | Pins can snag fine yarns |
For amigurumi, locking markers are the usual choice because they hold firmly in tight stitches and come off with one hand.
The scrap yarn method
Instead of moving a marker each round, you can lay a strand of contrasting yarn at the round start and flip it forward or back over your work each time you pass it. It weaves up the fabric as a visible column showing every round start. It is handy for long, even sections where you count rounds rather than stitches. Pull it out when the piece is finished.
Other useful places for a marker
Markers are not only for round starts:
- Placement points. Mark where an arm, ear or eye should go while the piece is still flat, so you can find the exact round later.
- Increases on special shapes. On an oval worked around a chain, markers at each end show where the increases go.
- Pattern repeats. Mark every repeat in a long round so a miscount stays inside one section.
- The live loop. When you put your work down, clip a marker into the loop on the hook so the stitches cannot unravel.
- Counting rounds. Clip a marker every five or ten rounds on a long tube such as a tail or a leg.
- Pairs. Mark the right and left piece of a pair, or where you stopped on the first one, so the second matches.
Markers for left- and right-handed crocheters
Markers work the same way whichever hand holds the hook. Left-handed crocheters travel around the round in the opposite direction, so the marker sits on the other side of the work, but the habit is identical: mark the first stitch, come back to it, move it up. If you follow photos made by a right-handed designer, the marker in the picture will look mirrored compared with yours. That is expected and does not change any count.
Markers and stuffing
Toys are usually stuffed before the last rounds are worked, while the opening is still wide. At that point the marker sits right at the edge of the hole you are filling. Clip it to the outside of the fabric before you push stuffing in, so it does not get pushed inside, and check it is still in the right stitch before you start the next round.
Common mistakes with markers
- Forgetting to move it. Then two rounds merge into one and the count is off by a round's worth. Make moving the marker part of the same motion as starting a new round.
- Placing it in the wrong loop. Clip it into the stitch top (both loops), not just one loop, or it can slide into the wrong stitch.
- Working into the marker's loop. If a marker sits in the loop on the hook, remove it before you work the next stitch, or the stitch shape changes.
- Leaving markers in a finished piece. Before stuffing or closing, check that every marker has been removed. Tiny ones hide easily in the stuffing.
Counting with a marker
With a marker in place, counting a round is straightforward: start at the stitch after the marker and count each V around until you reach the marker again. If the number does not match the pattern, you know the mistake is in that round. Our article on counting stitches in amigurumi rounds explains how to find and fix the stitch that went wrong.
Putting markers in your kit
Keep a small tin or zip pouch of locking markers with your hooks, along with a few lengths of scrap yarn. They are listed in our amigurumi tool kit checklist with the other basics worth having before your first project.
When you start a new design from our amigurumi crochet patterns, clip in the marker on round 1 and keep it moving until the last round.







