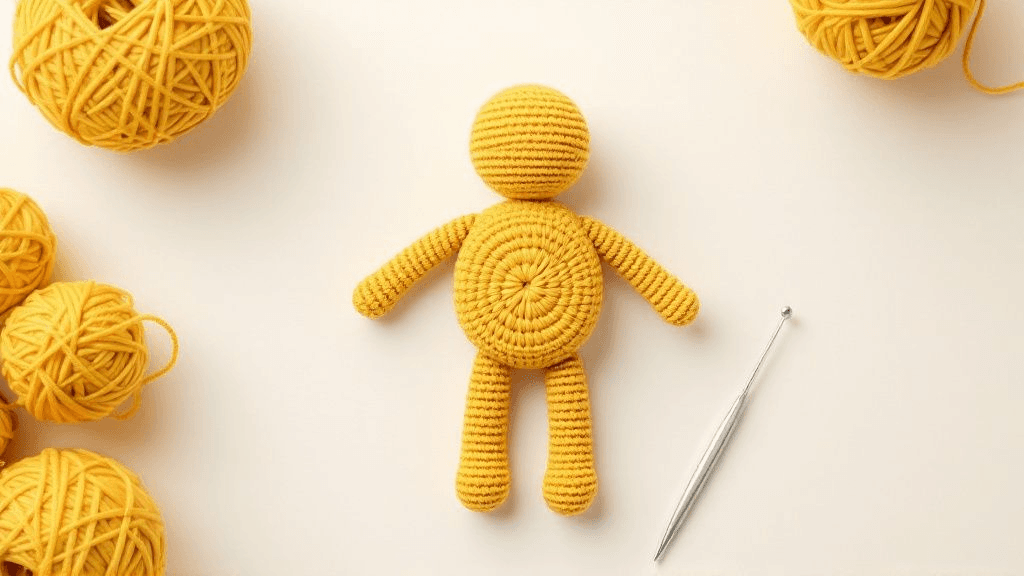
Movable arms and legs on amigurumi are made by joining each pair of limbs through the body instead of sewing them flat. The most common method is thread jointing: a long needle carries strong yarn through one limb, the body and the opposite limb, back and forth, then the yarn is tightened and hidden. Button and plastic disc joints are alternatives with more movement but more parts.
Sewn limbs vs jointed limbs
Most amigurumi patterns sew limbs directly to the body, either with an open edge whip-stitched in place or with a closed, flattened top. Sewn limbs are sturdy and hold a fixed pose.
Jointed limbs are closed and stuffed separately, then attached at one point so they can rotate. The toy can sit, raise its arms, or be posed for photos. Jointing is popular for dolls, bears and animals with long legs that would otherwise stick out awkwardly.
| Method | Movement | Extra parts | Notes |
|---|---|---|---|
| Sewn on | None, fixed pose | None | Sturdy, the standard in most patterns |
| Thread jointed | Swings, holds position with friction | None, only yarn | No hardware; can loosen over time |
| Button jointed | Swings freely | Buttons outside or inside the limbs | Buttons are small parts |
| Plastic disc joints | Rotates smoothly | Disc, washer and lock per joint | Fitted inside before stuffing |
Thread jointing step by step
Thread jointing needs only yarn and a long needle, often sold as a doll needle, at least as long as the toy is wide.
- Finish and close the limbs. Stuff each limb, with lighter stuffing at the top where the joint goes, so it can rotate against the body. Close the opening.
- Pin the limbs in place. Place both arms (or both legs) where they should sit, checking that they are level from the front and the side.
- Thread a strong strand. Use the same yarn as the body or a stronger cotton. Leave a long tail.
- Pass through limb, body and limb. Insert the needle through the inner side of the first limb near its top, about two rounds down, through the body, and out through the matching spot of the second limb.
- Come back a stitch or two away. Turn and pass the needle back through the second limb, the body and the first limb, entering one stitch away from where you came out so the yarn grips a stitch rather than slipping through a gap.
- Repeat three or four times. Each pass adds strength.
- Tighten and secure. Pull both ends until the limbs press firmly against the body but can still move. Tie the ends together under one limb, then bury them inside the body.
Getting the tension right
Too loose, and the limbs droop and flop. Too tight, and they cannot move and dimple the body. Aim for limbs that hold a pose when you move them but return without strain. Firm stuffing in the body helps, because it gives the yarn something to pull against.
Choosing the jointing yarn
The jointing strand carries all the strain each time the limb moves, so pick a smooth, strong yarn that does not break when you tug it hard. Cotton and acrylic in the same color as the body work well. Avoid fuzzy or loosely plied yarns: they fray as they rub through the fabric and can snap after a few months of play. A strand that matches the body also disappears into the stitches where it enters and exits.
Button joints
For a button joint, each limb is attached through the body with yarn, but a button sits on the outside of each limb (or between limb and body) as an anchor. The button spreads the pull, so the limbs can move further without the yarn cutting into the fabric.
Buttons are small, detachable parts, so they are a poor choice for toys going to babies or young children. If you use them, sew them on very securely, and consider hiding them inside the limb by working the button joint before closing the limb's last round.
Plastic disc joints
Disc joints, used for decades in teddy bear making, come as sets: a disc with a post, a second disc, and a washer and lock that hold them together. One disc goes inside the limb, the post passes through the limb and body fabric, the second disc goes inside the body, and the lock is pushed on.
A few things to know:
- The joint must be fitted before stuffing and closing, because both discs sit inside.
- The disc size must suit the limb; a disc wider than the limb distorts it.
- Crochet fabric needs to be tight around the post so the disc cannot slip through. Some makers add a felt circle between disc and fabric.
- Like any hardware, check the joint set's age guidance and the toy-safety rules where you live before giving the toy to a child.
Which method suits which toy
- For a baby or young child: Sewn limbs are usually the sturdiest option, and avoid buttons and other small parts. Follow the toy-safety guidance where you live.
- For a sitting doll or bear for an older child or adult: Thread jointing or disc joints both work well.
- For a display piece you want to pose: Disc joints give smooth rotation; a wire armature is another option for bendable limbs, covered in our article on wire armatures in amigurumi, which is meant for decorative toys only.
Making jointed toys stand and sit
Jointed legs change balance. A toy that stands well with sewn legs may tip when its legs swing. If you want your jointed toy to stand, keep the legs firmly stuffed, the feet flat, and the joint a little tighter. Our guide on making amigurumi stand up covers flat bases and weight placement.
Converting a sewn-limb pattern
You can adapt many patterns for jointing:
- Close each limb fully instead of leaving the top open.
- Stuff the top of the limb lightly.
- Choose the attachment point by pinning the limb in the pattern's sewn position, then moving it slightly lower so it has room to swing.
The rest of the pattern stays the same.
Troubleshooting
| Problem | Fix |
|---|---|
| Limbs droop over time | Add one or two more passes and retighten |
| Limbs dent the body | Loosen slightly; add stuffing to the body |
| Yarn visible on the limb | Enter and exit through the same stitch area, under a stitch |
| Limbs uneven | Re-pin and check from the side before the first pass |
Planning a jointed toy from one of our amigurumi PDF patterns or elsewhere? Check first whether the limbs are made as closed, separate pieces, since those convert to jointing with the fewest changes.







