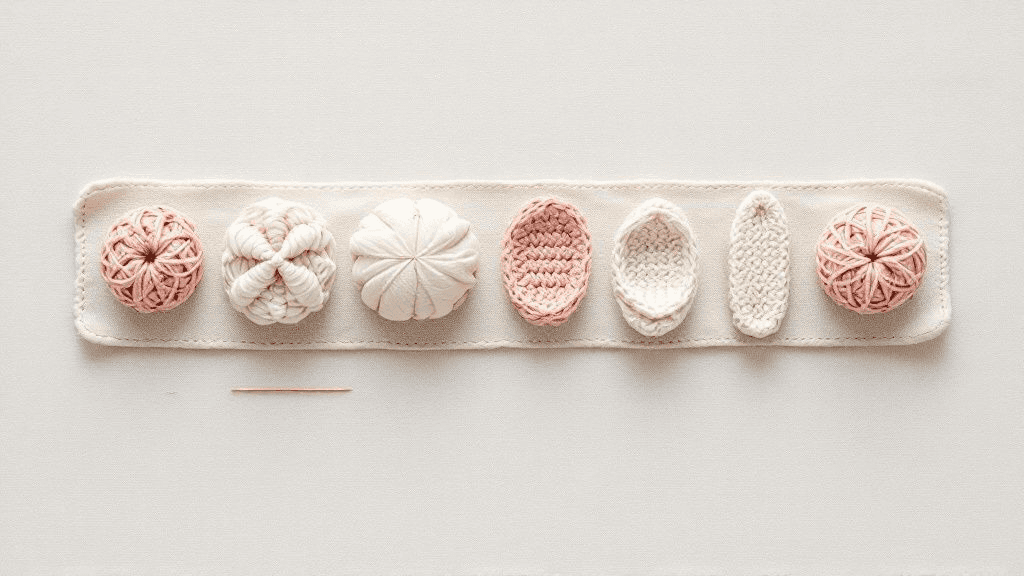
To crochet amigurumi ears, you usually make a small piece in the round from a magic ring, increase to the width the pattern gives, work a few even rounds, then flatten it and leave it unstuffed. Some ears stay cupped and open; others are folded or pinched at the base before sewing. Wings, tails and fins follow the same logic.
Two kinds of flat pieces
Almost every small appendage on a crocheted toy belongs to one of two groups.
- Cupped pieces are worked in the round and stay open, like a little bowl. Round bear ears and many mouse ears are cupped. They keep their shape from the increases, not from stuffing.
- Folded or flattened pieces are worked in the round and then pressed flat so the two layers sit together, like most bunny ears, wings and fins. Some are worked flat in rows and folded in half.
Knowing which kind you are making tells you how to finish it: a cupped ear is sewn around its open edge; a flattened piece is closed across the bottom first, then sewn on along one line.
Why most ears are not stuffed
Small parts are usually left empty for three reasons. Stuffing pushes the stitches apart on a small piece, so it looks lumpy. Flat pieces have more character when they flop or curve slightly. And a thin piece is easier to sew neatly to a curved head.
Long ears or tails that need to stand up are the exception. A pattern may call for a little stuffing in the bottom third only, or a firm fabric worked with a smaller hook. Some makers insert pipe cleaners to pose long ears; that adds wire to the toy, which our guide to wire armatures covers along with its limits for children's toys.
How a typical ear is shaped
The numbers vary by pattern, but the structure is common to most ears and wings.
| Stage | What happens | Typical instruction |
|---|---|---|
| Start | Small magic ring | 4 to 6 sc in a magic ring |
| Widen | Increase rounds create the width | (sc, inc) around |
| Lengthen | Even rounds add length | sc around for several rounds |
| Taper | Optional decreases narrow the base | (sc, dec) around |
| Finish | Flatten or keep cupped; leave a long tail | fasten off, leave a tail for sewing |
Pointed ears start with fewer stitches and increase slowly, often by only one or two stitches a round, so the tip stays narrow. Round ears increase faster and stop sooner. If you want to understand why the stitch count shapes the piece this way, our guide to increasing and decreasing explains the round math.
Finishing the base
How you close the bottom changes how the ear sits on the head.
Flatten and close
Press the piece flat with the last stitch at one side edge. Work single crochet through both layers across the opening, or sew the two edges together with the tail. This gives a straight base that sits flat against the head.
Pinch and fold
For a more lifelike ear, fold the base: bring the two outer edges of the opening toward the middle so the ear curves, and secure the fold with a couple of stitches. Bunny and cat ears often look softer this way.
Leave it open
Cupped ears stay open. Pin the open edge to the head in a curve or an oval, and sew all the way around. The opening faces forward on most designs.
Making pairs that match
Two ears or wings that look different are one of the most visible flaws on a finished toy. These habits help:
- Crochet the two pieces one after the other, in the same session, so your tension is the same.
- Count each round on both pieces against the pattern.
- Lay them side by side before sewing; if one is longer, it often has an extra even round.
- Fasten off at the same point on both. If the last stitch lands on a different side, the fold will not match.
Left-handed crocheters produce mirror-image pieces, which is fine for pairs of ears, though asymmetrical shapes may face the other way. Our guide to left-handed amigurumi explains when that matters.
Placing and sewing them on
Pin first, sew second. Put both ears in place with sewing pins, look at the toy from the front, the side and above, and adjust until they are level. Counting rounds and stitches on the head gives you reference points: for example, both ears five rounds down from the top and the same number of stitches from the center front.
Sew with the long tail and a tapestry needle. For a flattened ear, stitch through the base of the ear and under one stitch of the head, all the way along both sides of the base, so the ear cannot wobble. For a cupped ear, sew around the open edge with small, even stitches. Pull each stitch snug but not tight, or the head puckers.
Wings, tails and fins
The same methods apply to other flat parts.
- Wings are usually flattened ovals or teardrops, sometimes worked with a few stitches in the back loop only to suggest feathers. They are often sewn on along a short line at the top so they hang slightly.
- Tails can be a long thin tube, a flattened teardrop or a small cupped ball. A long tail needs a firm attachment at the base.
- Fins and flippers are generally flattened pieces sewn at an angle.
Pieces that hang loosely, like long ears on a toy for a small child, should be sewn on very securely; a firm double row of stitching at the base reduces the chance of a strong pull lifting them.
Common problems
| Problem | Likely cause | Fix |
|---|---|---|
| Ear curls inward too much | Too few increases for its length | Add one increase round or use a larger hook |
| Ear ruffles at the edge | Too many increases | Recount; remove an increase round |
| Pieces different sizes | Different tension or a missed round | Crochet pairs together; count both |
| Ear flops forward | Sewn only at the center | Sew along the full base |
| Visible gaps at the seam | Sewing stitches too far apart | Sew into every stitch of the base |
Small pieces are where personality comes from, and when you work through a design from our amigurumi PDF patterns, make both ears or wings before sewing either, so you can compare the pair.







