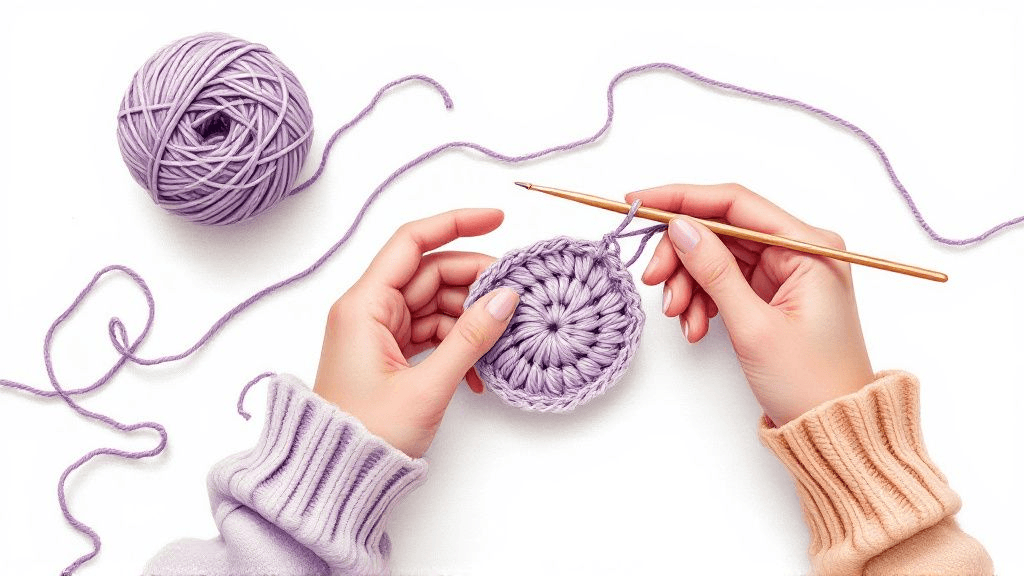
Left-handed amigurumi crochet works with the same patterns as right-handed crochet. You hold the hook in your left hand and work from left to right, so every stitch, round count and shaping instruction stays the same. The only real difference is that your finished pieces come out as a mirror image, and your spiral leans the other way.
What stays exactly the same
Amigurumi patterns are written as stitch counts and sequences: six single crochet in a magic ring, increase in each stitch, then one single crochet and one increase repeated around. None of that depends on which hand you use. A left-handed maker follows the same rounds, makes the same increases and decreases in the same places, and ends each round with the same total.
- Abbreviations mean the same thing.
- Stitch counts are identical.
- Hook and yarn sizes do not change.
- Gauge and finished size are the same if your tension is similar.
That is why most designers do not publish separate left-handed versions of their toy patterns. The words work for everyone.
What changes: direction and mirror image
When you crochet right-handed, you work around a round piece counterclockwise as you look at it. Left-handed, you work clockwise. Everything you make is the mirror image of the same piece made by a right-handed crocheter.
For a sphere or a simple body, the mirror image looks identical. The difference only shows in a few places:
| Feature | What a left-handed maker sees |
|---|---|
| Spiral rounds | The diagonal "jog" line drifts to the other side |
| Color changes | The stripe step sits on the opposite side |
| Pieces worked flat in rows | The first row faces the other way |
| Asymmetric parts | A part meant for the left side comes out as a right-side part |
| Photos in tutorials | Your work looks reversed compared with the pictures |
Spirals that lean the other way
Most amigurumi is crocheted in a continuous spiral. Because each round starts one stitch on from the previous one, the beginning of the round slowly drifts around the piece, leaving a slight diagonal line. Right-handed, that line drifts one way; left-handed, it drifts the other way.
In most toys this is invisible after stuffing. It only matters if a pattern tells you to place something "at the end of the round" on a specific side, or if you change colors and want the color step on the back. In those cases, think in terms of the marker rather than left or right: wherever your stitch marker sits is the end of your round. If you want to understand why the spiral drifts, our guide to spiral vs joined rounds explains it.
Asymmetric pieces and placement
Some toys have parts that are not symmetrical: a tail that curls to one side, an ear that flops, a wing that is shaped differently on the left and right, or a piece of clothing that wraps one way.
When you mirror these, there are two simple approaches:
- Swap the pieces. If the pattern gives a left ear and a right ear, make both and simply attach them on the opposite sides.
- Mirror the placement. If a single piece curves one way, attach it so the curve points the way the photo shows. Turning the piece over before sewing often does the job.
Faces deserve a second look. If a pattern places a smile or an eye slightly off-center for character, check the photo and mirror the position if your head shape came out reversed. When you are working out where the features go, our guide to embroidering an amigurumi face has tips on pinning before you stitch.
Following right-handed photos and videos
The tricky part for many left-handers is learning from pictures. Step-by-step photos usually show a right hand on the hook, so what you see is the mirror of what your hands do.
A few things help:
- Use a mirror. Hold a small mirror at the edge of the photo, or flip a digital image horizontally in an image viewer, so the hands match yours.
- Sit opposite. If a friend teaches you in person, sit facing them rather than beside them. Facing works as a natural mirror.
- Focus on the hook, not the hand. Watch where the hook goes into the stitch and how the yarn wraps; these motions are the same, just reversed.
- Look for left-handed tutorials for core techniques such as the magic ring, which feel most different when mirrored.
Reading the right side and wrong side
In amigurumi, the right side of the fabric is usually the outside of the piece. That is the same for both hands. If your work keeps curling with the wrong side out, gently push the piece inside out after the first few rounds. This happens to left- and right-handed makers alike and is not caused by your hand choice.
Holding the yarn
Left-handed crocheters hold the yarn in the right hand to control tension. Any of the common holds work, mirrored: wrapping around the little finger, over the index finger, or between two fingers. Pick one that keeps the yarn moving steadily and lets you see the stitches.
Tips that make the first project smoother
- Choose a light-colored, smooth yarn so you can see each stitch clearly.
- Use a stitch marker from round one and move it every round.
- Count stitches at the end of each round before going on.
- Make a small ball first to get used to the clockwise direction before starting a full pattern.
- Write "L" next to any instruction that mentions a side, so you remember to mirror it.
Joining pieces and finishing
Sewing parts together is the same for both hands. You thread a tapestry needle with the tail, pin the part in place, and work small stitches through the edge of the part and the body. Hold the needle in whichever hand feels steadier; many left-handers sew with the left hand and guide the piece with the right. When a pattern says to sew "around the opening from right to left", reverse the direction if that is more natural. The seam looks the same either way.
Closing the last round of a stuffed piece also works identically. Thread the tail through the front loops of the remaining stitches, pull it snug and weave it into the body. There is no left- or right-handed version of a neat finish.
Do you need special left-handed hooks?
No. Crochet hooks are symmetrical, and the same hook works in either hand. Ergonomic handles are shaped for grip, not for left or right, so choose what feels comfortable.
Round-by-round instructions read the same in either hand, so you can pick a design from our amigurumi PDF pattern collection and mirror only what you want to.







