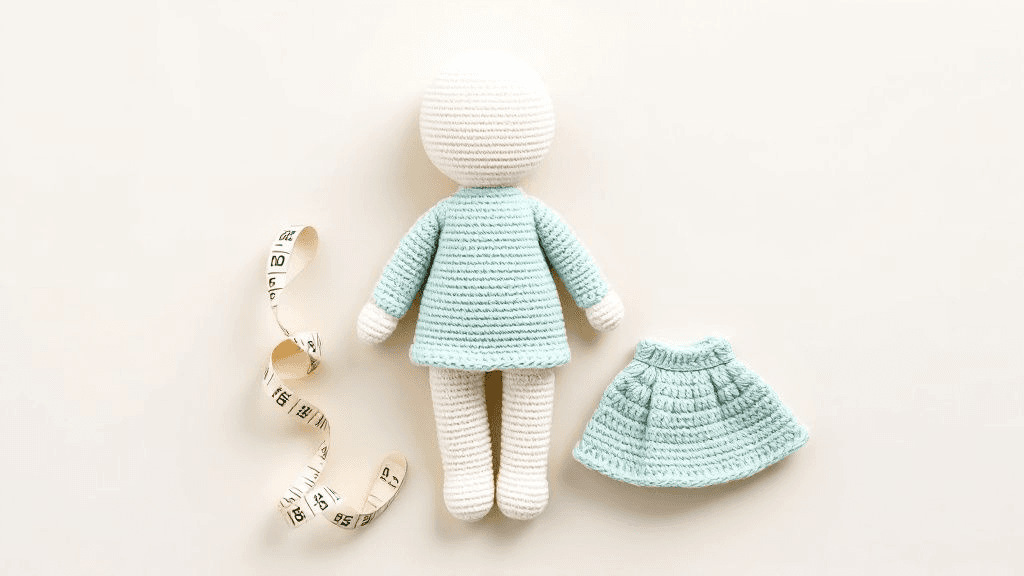
To make crochet doll clothes fit, measure the toy you are dressing, compare those measurements with the pattern's finished sizes, and check your gauge before you begin. Add a little ease so the garment slips on, make sure the neck or waist opening fits over the head, and adjust by changing hook size or adding rounds where needed.
Why outfits do not fit
Doll clothes are small, so tiny differences make a big change. A garment that is one stitch per inch off can end up several centimeters too wide or too narrow around a toy's tummy. The usual causes are:
- Different gauge. Your stitches are larger or smaller than the designer's.
- Different toy. The outfit pattern was written for one toy, and you are dressing another, or a toy you made in a different yarn.
- Not enough ease. The garment matches the toy exactly and cannot be pulled on.
- Openings too small. The body fits, but the neck or waist cannot pass over the head or hips.
The fix starts with measuring. Keep your notes with the printed pattern, so the next outfit for the same toy starts from known numbers rather than a guess.
Step 1: measure the toy
Use a flexible tape measure and write each number down. For a crocheted toy, measure gently without squeezing the stuffing.
| Measurement | Where to measure | Used for |
|---|---|---|
| Head circumference | Around the widest part of the head | Neck openings, hats |
| Chest | Around the body under the arms | Tops, dresses |
| Waist or tummy | Around the widest part of the middle | Skirts, trousers, overalls |
| Body length | From shoulder to where the hem should fall | Tops and dresses |
| Arm length and width | From shoulder to wrist, and around the arm | Sleeves |
| Leg length and width | From hip to ankle, and around the leg | Trousers, overalls |
| Foot length | Heel to toe | Booties and shoes |
Amigurumi heads are usually wider than their bodies, and that is the measurement most often forgotten. A top that fits the chest perfectly is no use if the neck opening cannot pass over the head.
Step 2: compare with the pattern
Look for the finished garment measurements in the pattern, or for the size of the toy it was designed for. If an outfit pattern is written for a specific toy in the same collection and you made that toy with the same yarn and hook, it should fit with little or no change. If you made the toy in a different yarn, or are dressing a different toy, compare measurements side by side before you start.
Step 3: check your gauge
Crochet a small swatch in the garment's stitch pattern, with the yarn and hook you plan to use. Measure how many stitches and rows fit into a set width, such as 5 cm or 10 cm, and compare with the gauge in the pattern. Our guide to gauge for amigurumi explains how to measure accurately.
- More stitches than the pattern means your garment will be smaller. Try a larger hook.
- Fewer stitches means it will be larger. Try a smaller hook.
On doll clothes, gauge matters more than on toys, because fit depends on it.
Step 4: add ease
Ease is the extra room between the garment and the body. Doll clothes need positive ease so they slide on without stretching seams or squashing the stuffing.
- Tops and dresses: about 1 to 2 cm more than the chest measurement, depending on how loose you want the fit.
- Skirts: enough at the waist to pass over the widest point it must go over, usually the hips or tummy.
- Hats: close to the head measurement, or slightly less if the fabric is stretchy.
- Shoes and booties: a little room around the foot so the stitches do not gap.
These amounts are starting points for small toys; check against your toy and the look you want.
Step 5: adjust the garment
Once you know the difference, you can adjust in a few ways.
Change the hook
The simplest fix. A hook half a size or a full size larger or smaller changes every dimension slightly while keeping the pattern as written.
Add or remove stitches
For pieces worked in rows, add or remove stitches in the starting chain to change width. For pieces worked in the round, adjust the increase rounds, but keep the stitch count compatible with any repeat in the stitch pattern. If a shell stitch repeats every 6 stitches, change the count in multiples of 6.
Add or remove rows or rounds
Length is the simplest dimension to change. Add rows to a skirt or rounds to a sleeve until it reaches the right point on the toy, and do the same on both sleeves or legs.
Try on as you go
The big advantage of making clothes for a toy you have in front of you is that you can try them on. Slip the garment onto the toy every few rounds, especially at the neckline, armholes and waist, and adjust before you finish.
Openings, fastenings and safety
Many doll garments open at the back so they fit over a large head. You can leave a back opening and close it with a crocheted tie, a button loop or a small snap. Buttons and snaps are small parts, so on clothes for a toy that a young child will play with, a crocheted tie or a sewn-closed garment is a more suitable choice, and follow the toy-safety guidance where you live.
An alternative is a wider neck with a drawstring or a ribbed band that stretches over the head and settles back.
Finishing for a good fit
Blocking sets the garment's final shape and size, and it can relax a stiff garment so it drapes more naturally on the toy. Our guide to blocking crochet doll clothes explains which method suits each fiber.
| Fit problem | Fix |
|---|---|
| Garment too tight around the body | Larger hook or more stitches; add ease |
| Neck opening will not pass over head | Add a back opening or a stretchy band |
| Sleeves too short | Add rounds to both sleeves |
| Skirt rides up | Add length or a few extra stitches at the waist |
| Garment too loose | Smaller hook or fewer stitches |
Whether you dress a toy from our amigurumi PDF patterns or one of your own, measuring and a swatch do most of the work.







