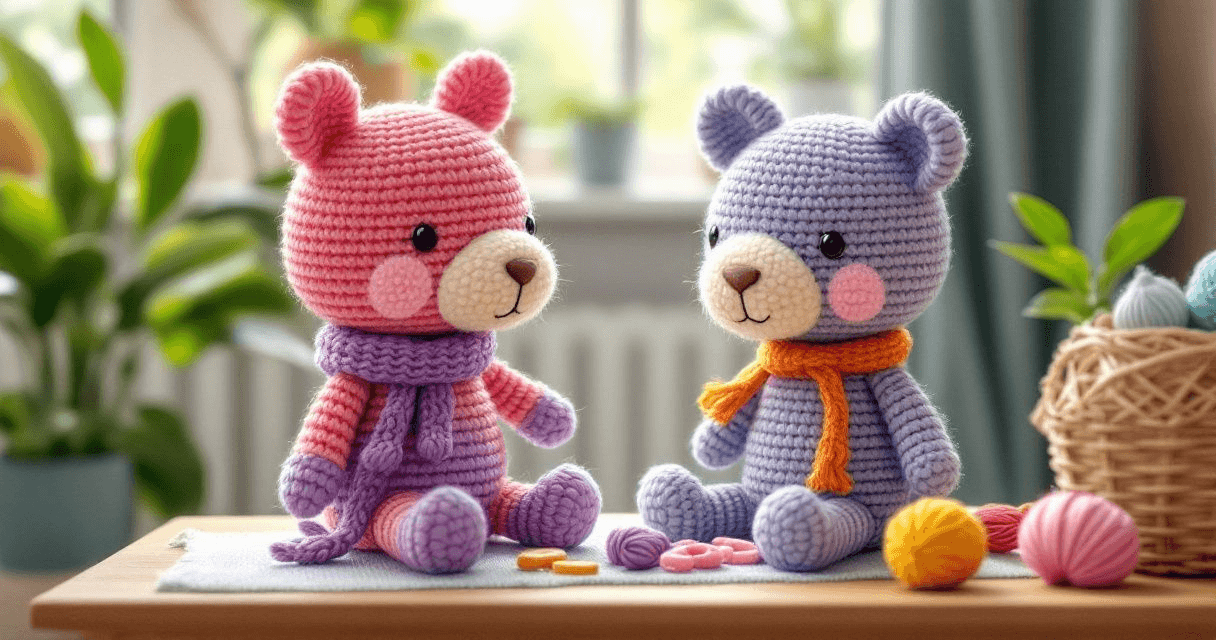
To stuff amigurumi firmly, add your filling in small pieces rather than one big ball, push each piece into the corners of the shape, and press the toy flat between your hands to feel for soft spots. "Stuff firmly deutsch" simply means "stuff firmly" in German, so here is the same advice in English, step by step.
What "Stuff Firmly" Actually Means
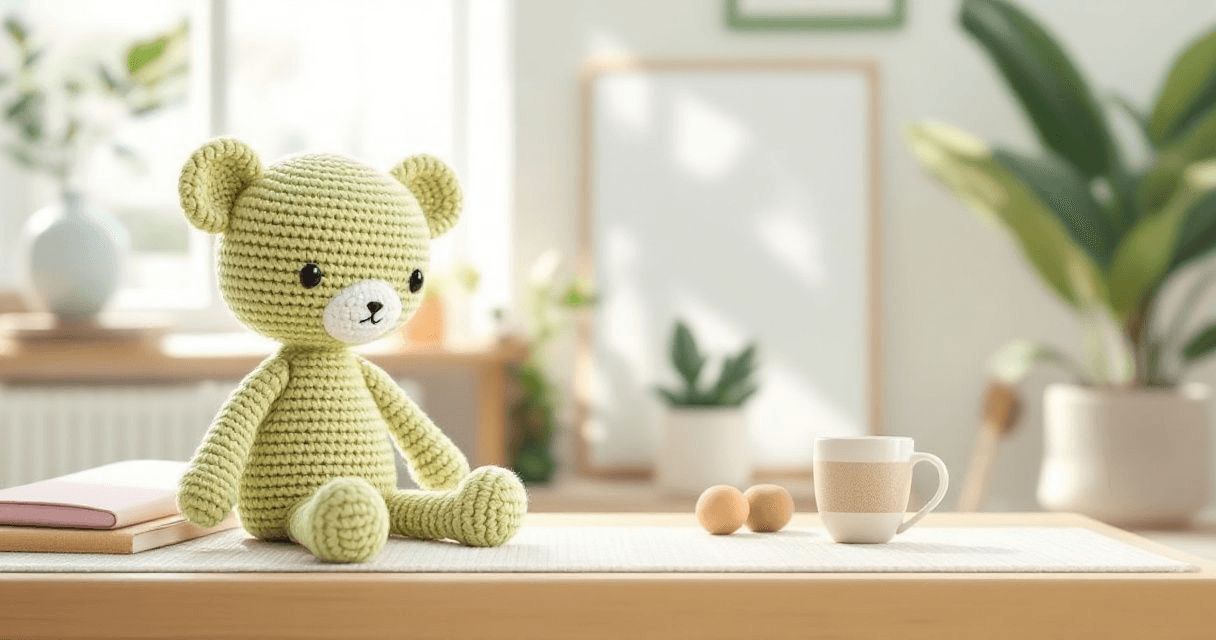
Firm stuffing is not the same as hard stuffing. A firmly stuffed piece keeps its round shape when you squeeze it, springs back slowly, and does not fold in on itself. The crochet still looks like crochet. When you overfill a toy, the stitches pull apart and the filling starts peeking through the gaps, which is the opposite of what you wanted.
Here is a quick test you can do at any point. Press the piece between your thumb and fingers. It should feel like a firm cushion. If your fingers meet with almost no resistance, the piece is too soft and will go floppy over time. If the surface looks stretched and you can see white filling between the stitches, take a little filling out.
What You Need Before You Start
- Filling. Polyester fiberfill is the usual choice. Cotton, wool, yarn scraps and pellets all behave differently, so it helps to know the differences before you commit. You can read more in what to stuff amigurumi with.
- A blunt tool. A chopstick, a pencil with a soft eraser, or the handle end of a crochet hook works well. Sharp tools can poke through your stitches.
- Small scissors. For snipping filling into smaller pieces.
- A yarn needle. For closing the opening once the piece is full.
- Optional weighting. Pellets or a small filling bag in the base can help a toy sit up, but they are not needed for firmness.
How to Stuff an Amigurumi Firmly, Step by Step
- Stop crocheting with a long tail. You will need it to close the opening later, so leave more yarn than you think you need.
- Tease the filling apart. Pull off pieces about the size of a walnut or smaller. Big clumps are the main cause of lumps.
- Start at the far end. If you are stuffing a head or a body, begin at the part furthest from the opening and work back toward your hands.
- Push into the corners first. Use your blunt tool to nudge filling into the curved edges and any pointed parts. Corners that are filled last stay empty.
- Add a little at a time. Push each piece down, then add the next. Rushing this step is what creates soft spots.
- Overfill slightly near the opening. The last bit of filling tends to settle, so add a small extra piece just before you close up.
- Squeeze and roll. Roll the piece between your palms and press it gently all over. This spreads the filling evenly and smooths out bumps.
- Check the shape, then close. Compare the piece with the pattern photos or measurements. If it looks right, close the opening with your yarn needle.
If you want the finishing stage to look tidy, the tips in how to stuff and assemble amigurumi toys neatly cover closing, attaching and shaping in more detail.
If You Searched in German: "Fest Stopfen" and Other Terms
The phrase "stuff firmly deutsch" mixes English and German because the search was typed in two languages. In German, the idea is usually written as fest stopfen, and the filling itself is called Füllwatte. The technique is exactly the same as the steps above: small pieces, corners first, gentle pressure.
Patterns in this shop are written in English. If you are not sure whether a pattern will suit you, you can always ask a question through the contact page before you download it.
Soft Spots, Lumps and Filling That Shows Through
Three problems come up again and again when people stuff amigurumi, and each one has a simple fix.
Soft spots
This usually means the filling was added too quickly, or the piece was closed before the shape was full. Reopen a few stitches, push small pieces into the hollow area, and squeeze the piece back into shape.
Lumps
Lumps come from big clumps of filling. Take the filling out, pull it apart into smaller pieces, and rebuild the shape in thin layers. Rolling the finished piece between your hands also helps even things out.
Filling peeking through stitches
This is a tension or hook size issue more than a stuffing issue. It helps to go down a hook size, or to use a slightly darker filling. There is a full walkthrough in how to fix gaps and holes in amigurumi so the stuffing stops showing.
Firm Stuffing for Different Parts of a Toy
Heads
Heads need the most even filling, because any flat side will show on the face. Fill the cheeks and the back of the head first, then the middle, and keep the front slightly softer so the face does not bulge.
Bodies
Bodies can be stuffed a little more firmly than heads. If the toy is meant to sit up, add a small amount of weighting in the base before you fill the rest.
Arms, legs and tails
These are narrow, so use tiny pieces and push them down with a chopstick. Stuff them firmly enough to hold their shape, but leave a little softness at the top so they bend naturally when you sew them on.
Very small pieces
Ears, noses and tiny paws often need only a pinch of filling, or none at all. A small piece of filling helps them keep their shape after washing, but too much will stretch the stitches.
A Quick Check Before You Close the Toy
Before you sew the last opening shut, give the piece one final squeeze. It should feel firm and even, with no crackly hollow areas and no stretched stitches. If something feels off, it is much easier to fix now than after the toy is finished. When you are happy with the shape, close it neatly, and take a moment to look at the whole toy from a few angles in good light.
If you would like to practise these skills on a small project, you can browse the crochet pattern collections for beginner friendly toys and outfits.
Frequently Asked Questions
How much filling does one amigurumi need?
It varies with the size and shape of the toy, so there is no single number. A good rule is to add filling until the piece holds its shape when squeezed, then stop before the stitches start to stretch.
Can I use cotton balls, fabric scraps or yarn ends instead of fiberfill?
You can, but each material behaves differently. Some are heavier, some clump, and some show through stitches more easily. The comparison in what to stuff amigurumi with explains the trade-offs.
Why does my amigurumi look lumpy after stuffing?
Almost always because the filling went in as large clumps. Pull it apart into smaller pieces, add it in thin layers, and roll the finished piece between your hands to smooth the surface.
Should I stuff the pieces before or after sewing them together?
Stuff each piece before you attach it to the others. It is much easier to shape a head or a leg while it is still separate, and you can adjust the firmness without pulling on finished seams.