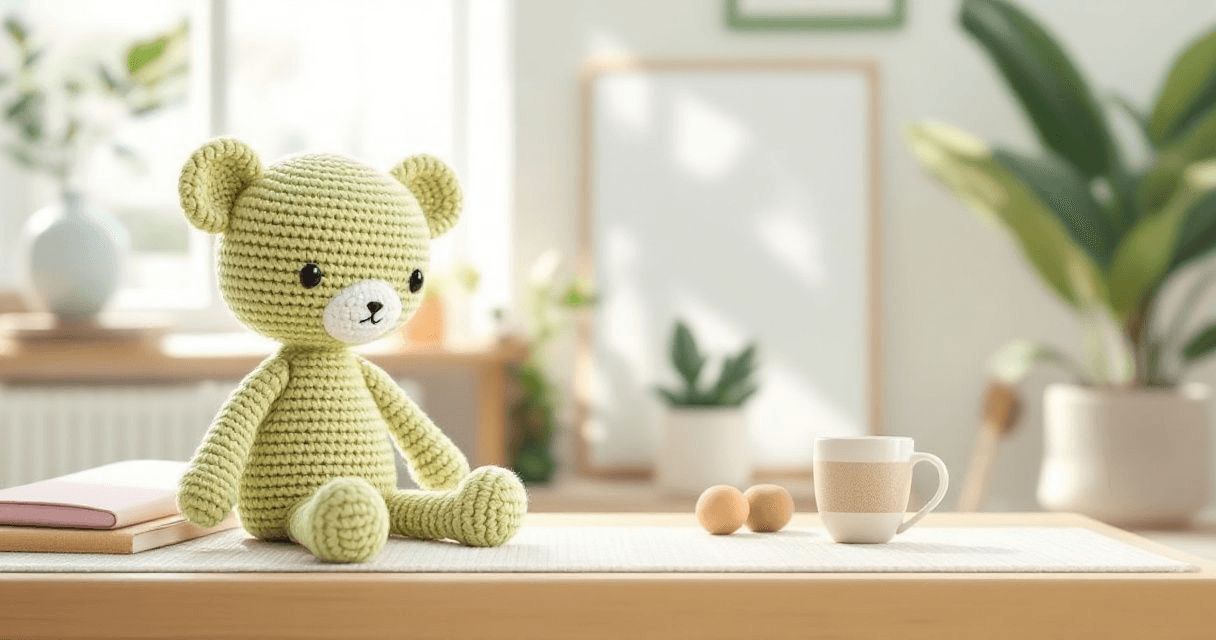
An amigurumi Anleitung is simply a crochet pattern for a stuffed toy: a set of written instructions telling you which yarn and hook to use, how many stitches belong in each round, and how to sew the pieces together. You work through it round by round, from the first loop to the final stitch. That is the whole idea.
What the Word "Anleitung" Means Here
"Anleitung" is German for instructions or guide. When people search for an amigurumi Anleitung, they are usually looking for step-by-step directions for making a small crocheted figure, animal, or doll. In English-speaking crochet circles, the same thing is called a pattern or a tutorial.
Most amigurumi guides you buy today arrive as a digital download. That means you get a file you can open on a phone, tablet, or computer, or print out if you prefer paper next to your yarn basket. Nothing gets shipped, and nothing expires. You keep the file and can return to it the next time you want to make the same figure in a different colour.
The reason amigurumi instructions look so different from other crochet patterns is the shaping. Instead of working flat rows back and forth, you usually work in a continuous spiral of single crochet. This is what gives the fabric its firm, dense, stuffed-toy look and hides the joins.
What You'll Find Inside a Well-Written Amigurumi Guide
Not every pattern is laid out the same way, but a good one covers the same ground:
- A materials list. The yarn weight, the hook size, and any extras such as safety eyes, stuffing, or embroidery thread.
- A finished size note. So you know roughly how tall the toy will be if you match the suggested yarn.
- Abbreviations. A short key that tells you what each short form stands for.
- Round-by-round instructions. Usually numbered, with a stitch count at the end of each round so you can check your work.
- Shaping rounds. The increases that make a piece wider and the decreases that make it narrower.
- Assembly steps. Where to attach arms, ears, tails, and eyes, and in what order.
- Photos or diagrams. Helpful for the fiddly parts, such as a magic ring or a neat closing hole.
If a pattern you are considering has no stitch counts and no photos, it will be much harder to follow. Stitch counts are the single most useful feature, because they let you catch a mistake on the round where it happened instead of ten rounds later.
Before You Start: Supplies and a Quick Check
Almost every amigurumi guide assumes the same basic kit. Gather it first so you are not hunting for a needle halfway through a round.
- A crochet hook, usually a size or two smaller than the yarn label suggests, so the fabric stays tight.
- Yarn in the colours listed. Cotton and acrylic both work well; cotton shows stitch definition clearly.
- Toy stuffing.
- A blunt yarn needle for sewing pieces together and weaving in ends.
- Stitch markers, or a short scrap of contrast yarn.
- Scissors and, if the pattern uses them, safety eyes or a small amount of black thread.
Stitch markers matter more than beginners expect, because a spiral has no visible seam. Placing a marker at the first stitch of each round is how you keep count. If you have ever wondered whether your tension is tight enough for stuffing to stay hidden, the guidance in gauge for amigurumi walks through a simple check you can do on a small swatch.
How to Read the Rounds Without Losing Your Place
The shorthand you will see most often
- ch — chain.
- sc — single crochet, the stitch most amigurumi is built from.
- sl st — slip stitch, often used to close a round or join a new colour.
- inc — increase: two single crochet into the same stitch.
- dec — decrease: work two stitches together so they become one.
- mr or magic ring — the adjustable loop you start most pieces with.
- ( ) and * * — brackets group stitches that you repeat a set number of times.
Reading a numbered round
A line such as "R4: (sc, inc) x 6 — 18" means: for round four, single crochet into the next stitch, then work an increase into the stitch after it, and repeat that pair six times. When you finish, you should have eighteen stitches. The number after the dash is your checkpoint. Count before you move on.
Increases and decreases are where most beginners get stuck, because the maths behind them is rarely explained. A round-by-round breakdown of how the shaping numbers build up is covered in the article on increases and decreases in amigurumi, which is worth reading before your first ball-shaped piece.
The Order of Work for a Typical Toy
- Start at the top. Most figures begin at the head or the top of the body, with a magic ring and six single crochet into it.
- Work the increase rounds. These widen the piece into a flat circle, then into a dome.
- Work the even rounds. Plain rounds with no shaping build the length of the head, body, or limb.
- Work the decrease rounds. These close the piece back in, leaving an opening for stuffing.
- Stuff and close. Add stuffing a little at a time, shaping as you go, then use the final decrease round or a running stitch to shut the hole.
- Make the small parts. Ears, arms, legs, tails, and any clothing are usually separate pieces.
- Assemble. Pin the pieces in place first, check the toy looks balanced from the front and the side, then sew.
Finishing Touches That Make the Difference
Stuff firmly but not so firmly that the stitches stretch and the filling shows through. Small pieces such as arms and ears need only a light amount, or they will look puffy rather than shaped.
Weave in every end rather than knotting it, and run the needle through the inside of the piece so the tail disappears into the stuffing. A blunt needle makes this much easier than a sharp one.
Choosing a First Pattern
Start with something small and mostly round. A single-piece figure with no separate limbs teaches you the magic ring, the increase, and the decrease without a long assembly at the end. Once you are comfortable, patterns that come with clothing add a second skill set and give you something to change between makes.
If you like having options to browse, the amigurumi PDF collection gathers patterns by style and difficulty, and the Amigurumi Crochet Pattern Collection is a good place to look when you want a range of shapes to practise on. For a quick, cheerful project, the plush babies with clothes set lets you make one small figure and then dress it. Everything is delivered as an instant download PDF, so you can start the same day you choose.
The Short Version
An amigurumi Anleitung is just a map: it tells you where to add stitches, where to take them away, and how to put the pieces together. Read it once from start to finish before you pick up your hook, keep your stitch marker in place, and trust the stitch counts to tell you when something has gone wrong. If a line does not make sense, a friendly customer support team can help, and checkout is secure when you are ready to choose a pattern.
Frequently Asked Questions
Do I need to understand German to use an amigurumi Anleitung?
No. The word simply means instructions. Patterns sold in English-speaking shops are written in English, and the shorthand used in the rounds is the same standard set of abbreviations worldwide.
Can I print the pattern, or do I have to read it on a screen?
Both work. A digital download can be read on a phone or tablet, which is handy for zooming in on a chart, or printed if you prefer a paper copy beside you while you crochet.
What if my stitch count does not match the pattern?
Count again, and if it is still out, undo back to the start of the round and rework it. One missing or extra stitch early on shifts every shaping round that follows, so it is quicker to fix immediately.
How do I know which pattern suits a beginner?
Look for patterns described as beginner friendly, made from one or two pieces, with photos of each stage. Sets that include clothing or many separate parts are better saved for a second or third project.
Can I sell the toys I make from a pattern?
That depends on the terms included with each individual pattern, so read the note at the end of the file before you plan to sell finished pieces.