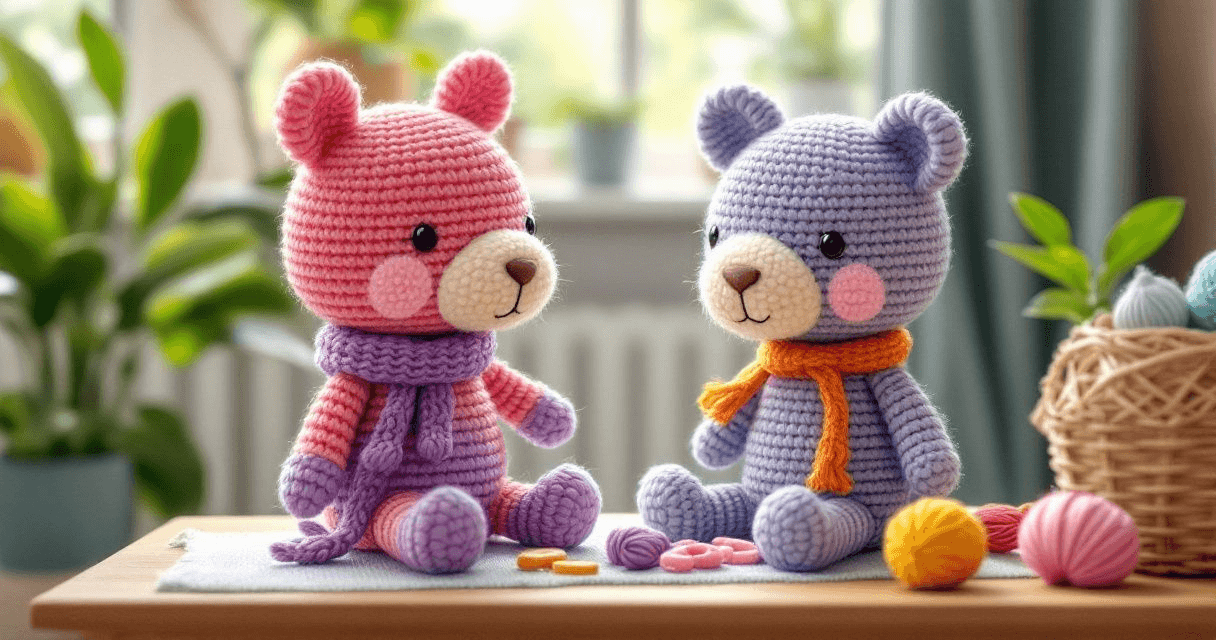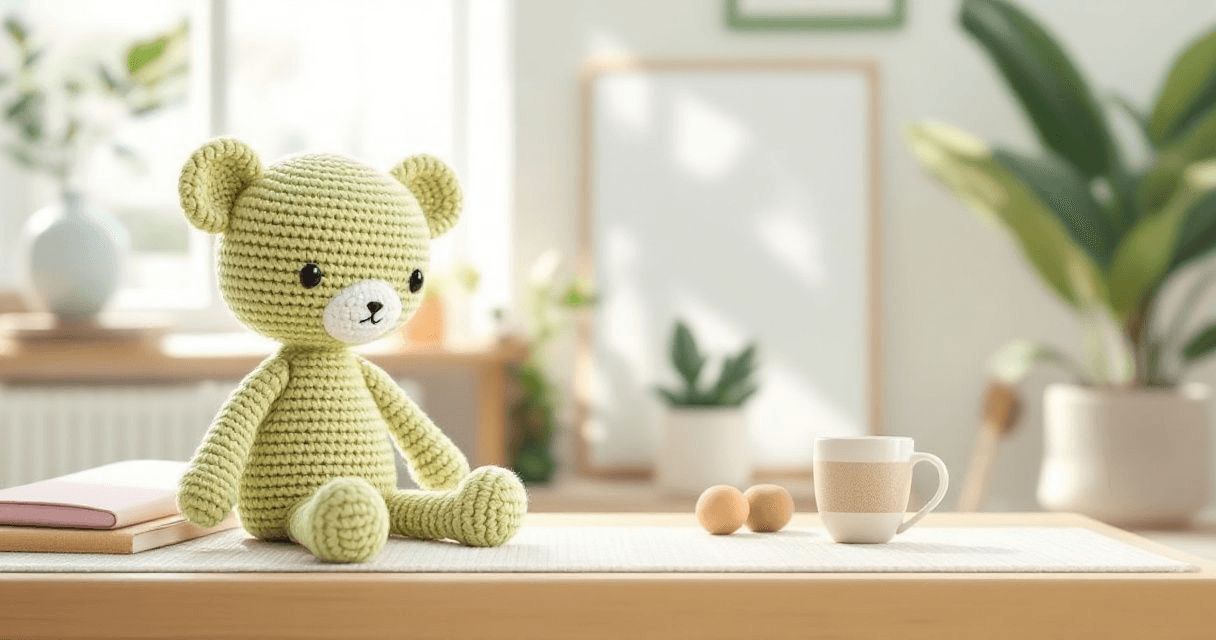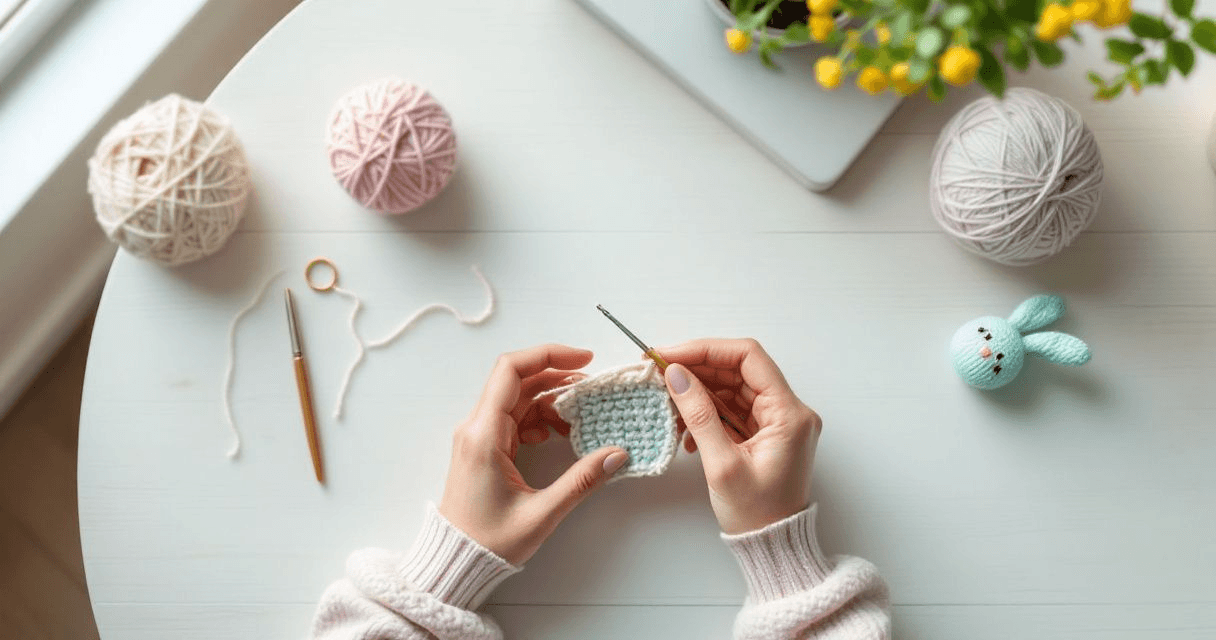
Amigurumi is a charming crochet technique for making small, stuffed toys. To start, choose a smooth yarn and a hook size that gives a tight stitch, read a clear pattern, work in continuous rounds, and finish with a soft stuffing and simple safety eyes.
Gather Your Materials
Having the right supplies makes the first steps much smoother. Most beginner amigurumi projects need only a few items:
- Yarn: Choose a smooth, medium‑weight (DK or worsted) yarn. A light colour helps you see each stitch clearly.
- Crochet hook: Use the size recommended in the pattern, usually 3.5 mm to 4.5 mm for tighter stitches.
- Stitch markers: Small rings or safety‑pin style markers keep track of the beginning of a round.
- Fiberfill: Soft polyester stuffing gives your toy a plush feel.
- Safety eyes or embroidery thread: For eyes and facial details.
All of these can be found in most craft stores, and many patterns in our Amigurumi Crochet Pattern Collection - 100+ Projects (PDF) list exact yarn weights and hook sizes.
Read and Understand the Pattern
Amigurumi patterns are written in a concise, step‑by‑step format. Before you start crocheting, spend a few minutes scanning the entire pattern.
- Identify the abbreviations (sc = single crochet, inc = increase, dec = decrease).
- Note any special techniques, such as magic rings or invisible decreases.
- Check the total stitch count for each part; this helps you spot errors early.
If you are unsure about a term, our How to Increase and Decrease in Amigurumi guide explains the most common methods.
Master the Basic Amigurumi Stitch
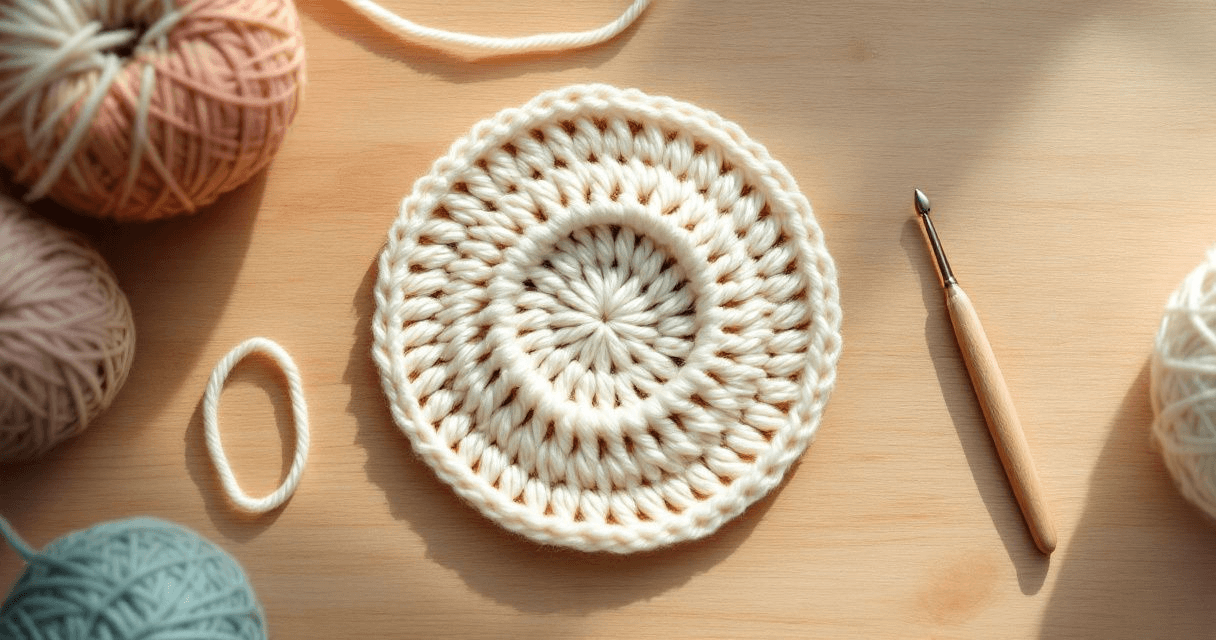
The single crochet worked in the round is the foundation of most amigurumi designs. Follow these steps to keep your stitches tight:
- Make a slip knot and chain the required number of stitches for the magic ring.
- Insert the hook into the ring, yarn over, pull through a loop, then yarn over again and pull through both loops on the hook (a standard single crochet).
- Work each stitch into the front loop only; this creates a tighter fabric that holds stuffing well.
Practice on a swatch of a few rows before beginning the actual project. Tight stitches reduce gaps where stuffing can escape.
Work in Rounds and Count Stitches
Amigurumi is typically crocheted in continuous rounds, not joined circles. Keeping track of rounds and stitch counts is essential:
- Place a stitch marker at the beginning of the first round. The marker moves with each round, showing you where the round ends.
- Write down the number of stitches you have after each round. Many patterns give a target count for each stage (e.g., "12 stitches for the head").
- If the stitch count is off, unwind to the last correct round and re‑check your increases and decreases.
Our Gauge for Amigurumi: Does It Matter and How to Check It article explains why gauge is less critical for stuffed toys, but consistent stitch counts are still key.
Shape Common Parts (Head, Body, Limbs)
Most amigurumi toys share a few basic shapes. Here is a quick overview of how to form them:
Head
- Start with a magic ring, work the required number of single crochets, and increase evenly until you reach the desired diameter.
- Begin decreasing symmetrically to close the top, often using invisible decreases for a smooth surface.
Body
- After the head, continue crocheting straight rounds without increases to create a cylinder.
- When you need a taper (e.g., for a tail), start decreasing gradually.
Limbs
- Limbs are usually worked in a small magic ring, then increased to a short length and closed with a few decreases.
- Attach limbs with a slip stitch or a hidden join to keep the stitching invisible.
For inspiration, check out the Ruby Hummingbird Amigurumi - PDF Pattern, which shows a classic head‑and‑body construction with delicate wing details.
Finishing Touches: Stuffing, Eyes, and Joining
Once all parts are crocheted, the final steps bring your toy to life:
- Stuff gently: Use fiberfill and push it into each section with a small tool or a pencil tip. Avoid over‑stuffing, which can stretch the stitches.
- Insert safety eyes: Follow the pattern’s suggested placement. If you prefer embroidered eyes, stitch them before stuffing.
- Close the seams: Use a yarn needle to weave the tail end of the final round through the opposite side, creating an invisible seam.
- Attach limbs and accessories: Sew them with a slip stitch or a tiny invisible join, making sure the tension matches the surrounding stitches.
For a quick project that combines a head, body, and adorable clothes, see our 🌼 3 in 1 Amigurumi Plush Babies with Clothes pattern.
Keep Practicing and Explore New Designs
Amigurumi is a skill that improves with each toy you finish. After mastering a simple bunny or bear, try a more challenging design like 🐉Emerald the Green Dragon. Experiment with different yarn colors, textures, and outfit accessories to make each creation uniquely yours.
Remember, the joy of amigurumi comes from the process as much as the finished plush. Take your time, enjoy each stitch, and share your cute creations with the crafting community.
Conclusion
Starting amigurumi crochet involves gathering the right materials, reading a clear pattern, mastering tight single crochets, and keeping track of rounds and stitch counts. With these basics, you can create charming toys, dress them up, and gradually explore more complex projects.