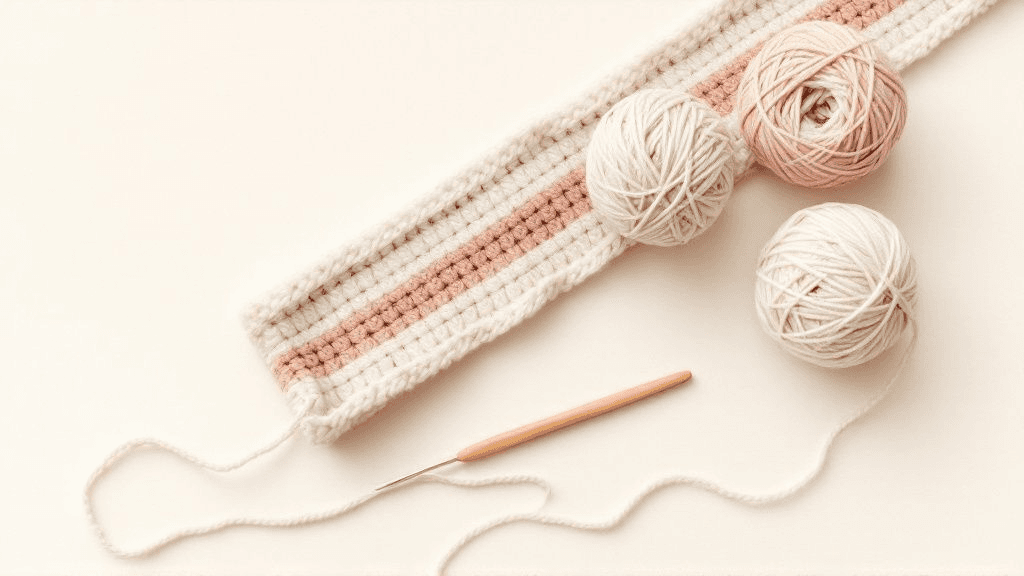
To change colors in amigurumi, start the switch one stitch early: work the last single crochet in the old color until two loops remain on the hook, then yarn over with the new color and pull through. The new color now sits on top, ready for the next stitch. In spiral rounds, a small jog at the change is normal and can be softened.
Why you switch on the last yarn over
Every crochet stitch ends with a loop on the hook, and that loop becomes the top of the stitch you just made. If you finish a stitch completely in the old color, the loop on your hook is still the old color, so the first stitch in the new color carries a little blip of the previous one.
By bringing in the new color on the very last yarn over, the loop on the hook is already the new shade. The stitch below stays fully in the old color and the next stitch starts clean.
Step by step in single crochet
- Work up to the last stitch before the color change.
- Insert the hook, yarn over and pull up a loop as usual. You have two loops on the hook.
- Drop the old color to the inside of the piece.
- Pick up the new color, leaving a tail of about 4 to 6 inches, and yarn over with it.
- Pull the new color through both loops. The stitch is done, and the loop on the hook is the new color.
- Continue in the new color. Give both tails a gentle tug after a few stitches so the change does not loosen.
You do not need a knot. A couple of stitches worked over the join, or a firm tie of the two tails on the inside once the piece is finished, holds everything in place.
The jog in spiral rounds
Most amigurumi is worked in a continuous spiral, so the end of one round climbs straight into the start of the next. When you change color in a spiral, the new color starts one round higher than the old color ended, and you see a small step, called a jog.
There are a few ways to make it less visible:
- Slip stitch the first stitch. On the first stitch in the new color, work a slip stitch instead of a single crochet, then continue normally. When you come back around, work into that slip stitch as if it were a regular stitch. It lowers the start of the new color.
- Change in the back. Plan the change so it falls on the side of the toy that faces away, often the back of the head or body.
- Tug the tail. When weaving in the end, pull the old-color tail gently toward the step to even it out.
- Use joined rounds for stripes. If a design has many stripes, working in joined rounds puts all the changes on one line. Our guide to spiral vs joined rounds explains when that trade-off is worth it.
| Situation | Suggested approach |
|---|---|
| One color change, such as a head to a body | Last-yarn-over method, change at the back, slip stitch trick |
| Wide stripes every 3 or more rounds | Cut and rejoin each time, or carry up the inside if the gap is short |
| Narrow stripes every 1-2 rounds | Carry both colors up the inside, consider joined rounds |
| Small color patches in one round | Tapestry crochet (carry the unused color inside the stitches) |
| Shoes, cuffs, collars in a new shade | Change on the last yarn over, then work through the back loop if the pattern asks for a ridge |
Carry or cut?
When the same colors alternate every few rounds, you can carry the unused yarn up the inside of the piece instead of cutting it. Simply leave it hanging inside and pick it up again when you need it, without pulling it tight. On a stuffed piece, the carried strands are hidden.
Cut the yarn instead when:
- The color will not return for many rounds.
- The inside of the piece will be visible, as with an open hat or a flat ear.
- The carried strand would cross a long distance and could pucker the fabric.
If you cut, leave tails long enough to weave in properly; about 6 inches is comfortable.
Changing color inside a single round
Some designs place a patch of color in one round, such as a muzzle or a belly spot. The usual technique is tapestry crochet: you lay the unused color along the top of the stitches and work over it, so it travels inside the stitches until you need it.
A few tips help here:
- Keep the carried strand loose enough that the fabric does not draw in.
- Darker carried colors can peek through lighter stitches. Try a test swatch, and if it shows, cut and rejoin instead.
- Count carefully. Marking the start and end of the color patch with markers makes each round simpler to follow.
Tension and tails
Color changes are where gaps often appear, because both yarns are a little loose at the switch. Before moving on, snug the new color and the old one. When you finish the piece, tie the two tails together inside if they are near each other, then weave each one in a different direction.
Keeping steady tension through the change matters as much as the method itself. If your stitches loosen every time you pick up a new strand, our article on crochet tension and holding the yarn covers ways to keep the feed even.
Choosing colors that behave
Some color pairs make changes more visible. Very dark yarn next to white shows every irregular stitch, and fuzzy yarns may shed fibers onto lighter neighbors. If your pattern lets you choose, test both colors together on a small swatch and look at the change from arm's length, which is how most people will see the finished toy.
Yarns of the same fiber and weight behave alike, so mixing a cotton and an acrylic of different thickness can make one stripe wider than the other. Matching the weight category on the label avoids that.
Putting it into practice
Practice with a striped tube: 6 single crochet in a magic ring, increase to 18 stitches, then work even and change color every two rounds for 10 rounds. Try the slip stitch trick on half the changes and compare. Once the method feels natural, color changes stop being something to dread and become part of the design.
If you are choosing a first project with color changes, browse our PDF amigurumi patterns and look for a design with one or two changes before trying stripes.







