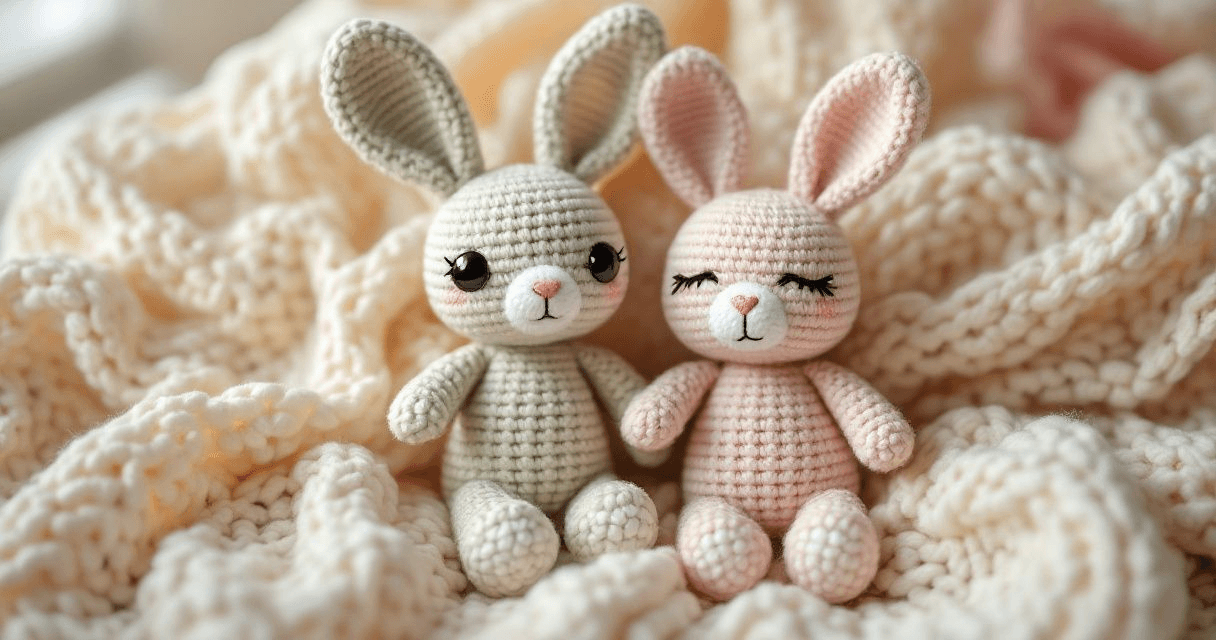
For a toy that will go to a baby or a child under three, use embroidered eyes. Safety eyes are small plastic parts, and although the washer holds them firmly, a loose or broken eye could be a choking hazard. Safety eyes suit toys for older children and adults, as long as the washer is pushed fully into place.
How safety eyes work (post and washer)
A safety eye has two parts: a plastic eye with a ridged post on the back, and a washer that slides onto the post from the inside of the toy. The ridges let the washer go on but not come back off.
- Fit the eyes before you stuff and close the piece, while you can still reach the inside.
- Push the post between two stitches, check the position from the front, then press the washer on from the inside.
- Push the washer all the way down until it clicks and sits flat against the fabric. A washer that is only part of the way on can work loose.
- Check the eye from the front: it should not wobble or pull out when you tug it gently.
Once the washer is fully on, a safety eye is meant to stay. You cannot simply push it back out, so decide on the position before you fit it.
Choking risk and why embroidered eyes are used for babies
Babies and toddlers put toys in their mouths, chew them and pull at them. Toy safety rules in many countries treat small parts on toys for children under three as a choking hazard, which is why safety eyes, buttons and beads are generally avoided on toys for that age, however well they are fitted.
Embroidered eyes are stitched from yarn straight into the fabric, so there is no separate hard part to come loose. They are the usual choice for:
- toys for newborns, babies and children under three,
- toys that will be chewed, including by pets,
- gifts where you do not know the age of the child who will end up with the toy.
Embroidered eyes do not make a toy safe on their own. Every part still needs to be sewn on firmly and every end hidden.
How to embroider eyes neatly
- Materials: yarn in a dark colour, or embroidery thread, and a tapestry needle.
- Mark the spot: put a pin or a stitch marker where each eye will go, and count rounds and stitches so both are level.
- Start inside: bring the needle in through a gap away from the eye and out at the eye position, leaving a tail inside the toy.
- Stitch the eye: for a simple round eye, work several straight stitches over the same one or two crochet stitches, side by side, until the eye is the size you want. A French knot works for very small eyes.
- Finish: bring the needle back out away from the eye, pull gently so the eye sits flat, and hide the ends inside the toy.
Practise on a spare swatch first. Small differences in size and position change the whole expression.
Placing eyes before closing the head
- Crochet the head until a few rounds before the end, while the opening is still large.
- Your pattern will usually say where the eyes go, for example "between rounds 10 and 11, 6 stitches apart". Mark both positions.
- Fit safety eyes now, before you stuff. Embroidered eyes can be added now or after stuffing; many people find it easier once the head has its shape.
- Stuff the head and finish the last rounds as the pattern directs.
A round head such as the Mimi Bunny or the Sleepytime Teddy Bear is a good shape for practising eye placement.
Other small parts to avoid on baby toys
- Buttons and beads: leave them off toys for babies and children under three. Crochet or embroider the detail instead.
- Safety noses: these work like safety eyes, so the same advice applies. Embroider the nose.
- Bells, rattles and charms: avoid anything hard and small that could come out.
- Ribbons and long cords: keep them short, or leave them off.
Choose embroidered faces for the youngest children, fit safety eyes properly on toys for everyone else, and check every seam before the toy is given away. You can browse the amigurumi pattern collection for toys to try these techniques on.







