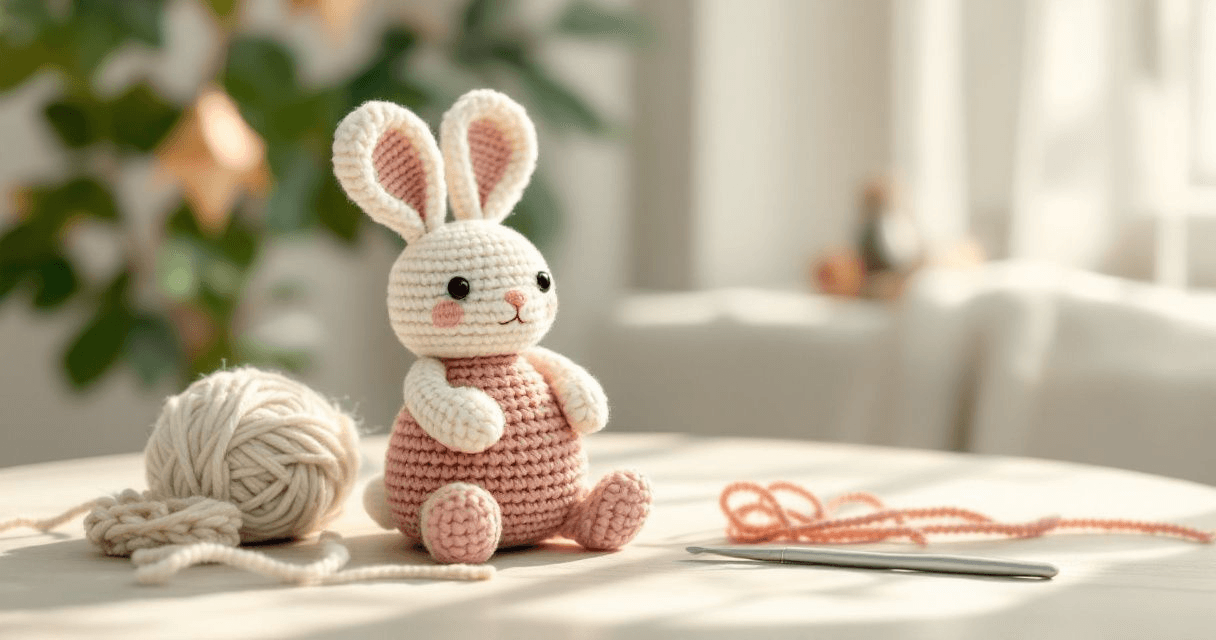
You can crochet amigurumi as a complete beginner. You need five techniques: the magic ring, single crochet, increase, decrease and slip stitch. You work in tight spiral rounds, stuff the piece as you go, close it and sew the parts together. A small toy with few parts, such as a ball-shaped animal, is a good first project.
What amigurumi is
Amigurumi is the Japanese name for small crocheted or knitted stuffed toys. In crochet, each part is usually worked in continuous rounds of single crochet with a hook that is smaller than the yarn label suggests, so the fabric is dense enough to hide the stuffing. Animals, food shapes and little dolls are all common. Because most parts are small, a toy is a good way to practise even tension and counting stitches.
Tools and materials for a first toy
- Crochet hook: the size your pattern names. As a guide, many toy patterns use 2.75 to 3.5 mm for DK yarn and 3.5 to 4 mm for worsted yarn.
- Yarn: a smooth, light-coloured cotton or acrylic in DK or worsted weight. Light colours make it easier to see your stitches.
- Stitch marker: a locking marker, a safety pin or a short piece of contrasting yarn to mark the start of each round.
- Polyester fibrefill: the usual toy stuffing.
- Tapestry needle and scissors: a blunt needle with a large eye for sewing parts together and hiding ends.
- Eyes: embroidered with yarn, or plastic safety eyes if the toy is not for a child under three.
The five stitches you need (magic ring, sc, inc, dec, slip stitch)
- Magic ring: an adjustable loop. You crochet the first round of stitches into the loop, then pull the tail so the centre closes with no hole.
- Single crochet (sc): insert the hook into the stitch, yarn over and pull up a loop (two loops on the hook), then yarn over and pull through both loops.
- Increase (inc): two single crochets in the same stitch. It adds one stitch to the round.
- Decrease (dec): single crochet two stitches together, which turns two stitches into one. Many toy makers use the invisible decrease, worked through the front loops only, because it hides better.
- Slip stitch (sl st): insert the hook, yarn over and pull the loop through the stitch and the loop on the hook in one movement. It is used to finish a piece neatly or when a pattern joins its rounds.
Working in continuous rounds and using a stitch marker
- Most amigurumi patterns work in a spiral: you do not join each round with a slip stitch, you carry straight on into the next round.
- Put your marker in the first stitch of each round and move it up as you go. When you reach it, the round is done.
- Count your stitches at the end of each round and compare with the number the pattern gives in brackets.
- A spiral makes a small step where rounds meet. Ending a piece with a slip stitch, then pulling the tail to the inside, smooths it.
Stuffing, closing and joining parts
- Start stuffing when the opening is still wide enough for your fingers, and add small pieces of fibrefill at a time.
- Stuff firmly so the toy holds its shape, but not so hard that the stitches stretch apart.
- To close the last round, fasten off with a long tail, thread it on a tapestry needle, pass it through the front loop of each remaining stitch and pull tight like a drawstring.
- Pin arms, ears and legs in place first, look at the toy from several sides, then sew them on with the tapestry needle using small whip stitches or mattress stitch.
- Hide every tail by passing the needle into the body and out somewhere else, then trimming it close.
A simple first project to practise
Choose a pattern with a round body and only a few small parts, written in US terms with stitch counts for each round. A small bunny such as Bella the Bunny or a bear such as the Sleepytime Teddy Bear works this way, and the amigurumi pattern collection shows the other animals. Read the whole pattern once before you start, and check which terms it uses.
Common beginner mistakes and how to fix them
Losing count
Stitches go missing or appear from nowhere when you lose your place. Move your marker every round, count before you start the next one, and pull back to the marker if the number is wrong. It is quicker than fixing the shape later.
Loose fabric
If stuffing shows through, try a hook 0.25 or 0.5 mm smaller, or keep a steadier hold on the working yarn.
A hole in the first round
Pull the magic ring tail firmly after the first round, and weave the tail in through the stitches so the ring cannot loosen.
A lumpy or uneven closure
Add stuffing in small amounts, then close the last stitches through the front loops as described above rather than sewing across the opening.
Ends working loose
Weave each end in more than one direction, or pass it through the stuffed body, before trimming.







